So far only had to use 4 google services to create this website :
- bought my domain name using : domains.google.com
- found a place to host my website : cloud.google.com
- watched this 8 minutes youtube.com video explaining how to install wordpress on google cloud
- added analytics.google.com to measure the stats
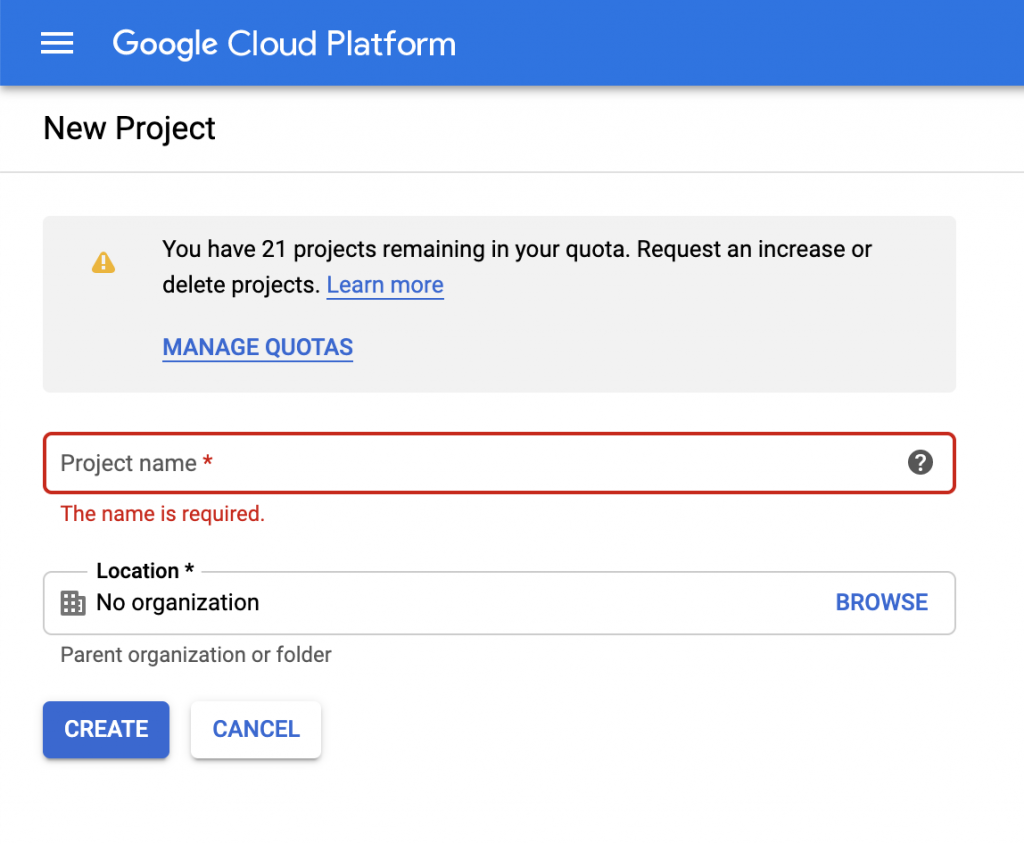
First, go to cloud.google.com and create a new project
Then give a name to this project
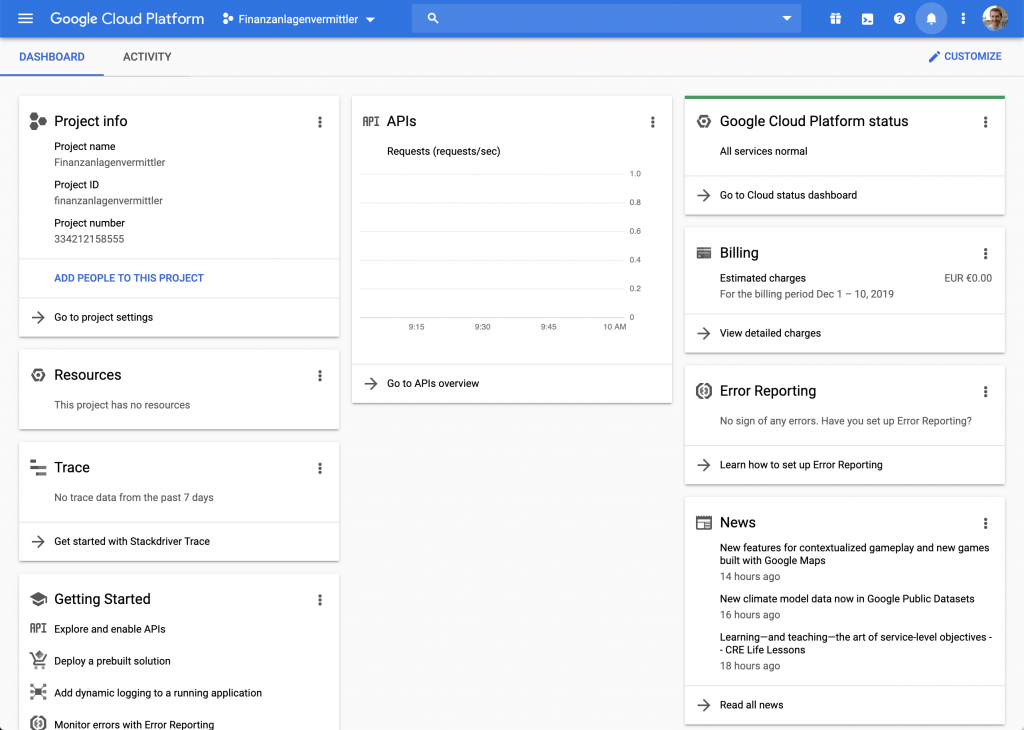
After a few seconds the project is ready, and you can open it.
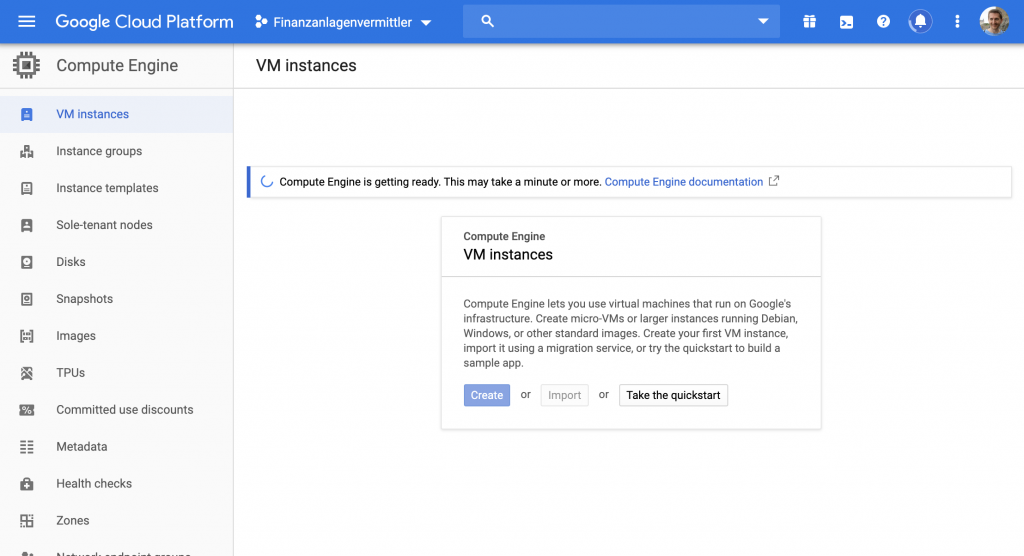
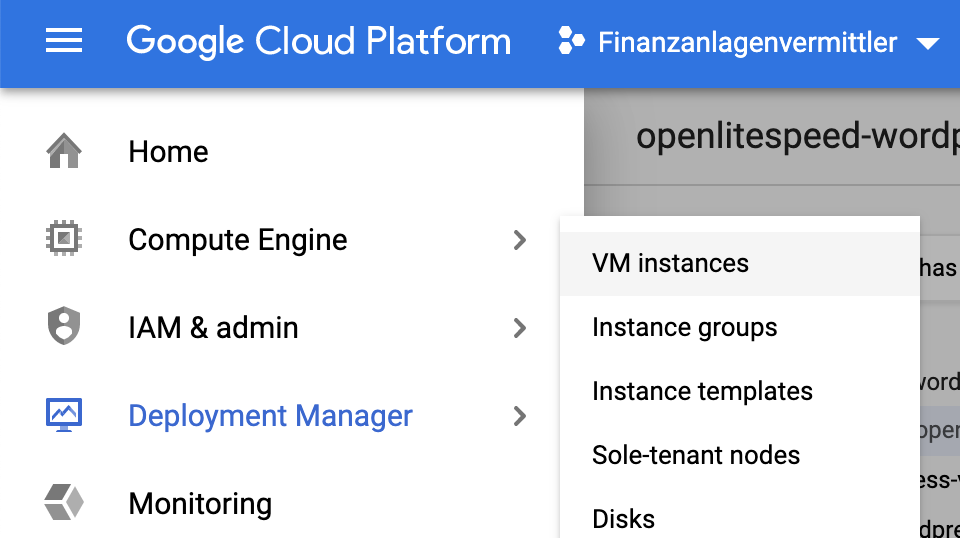
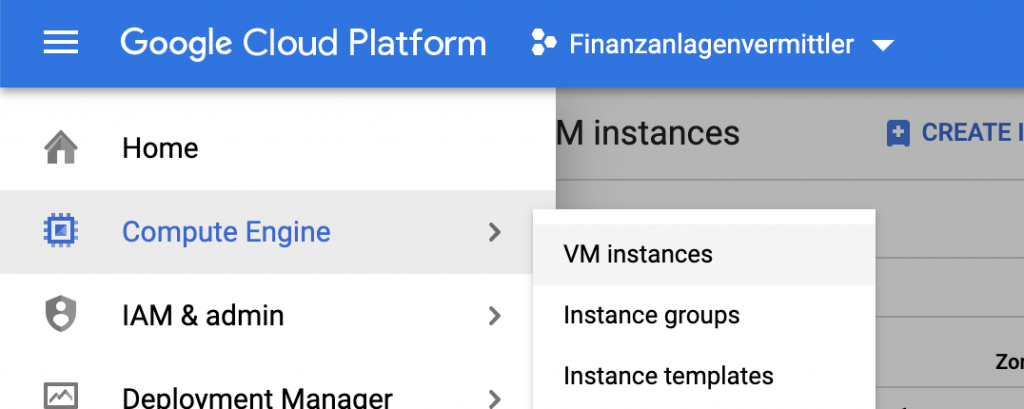
Then go to the menu, select Compute Engine, then VM instances
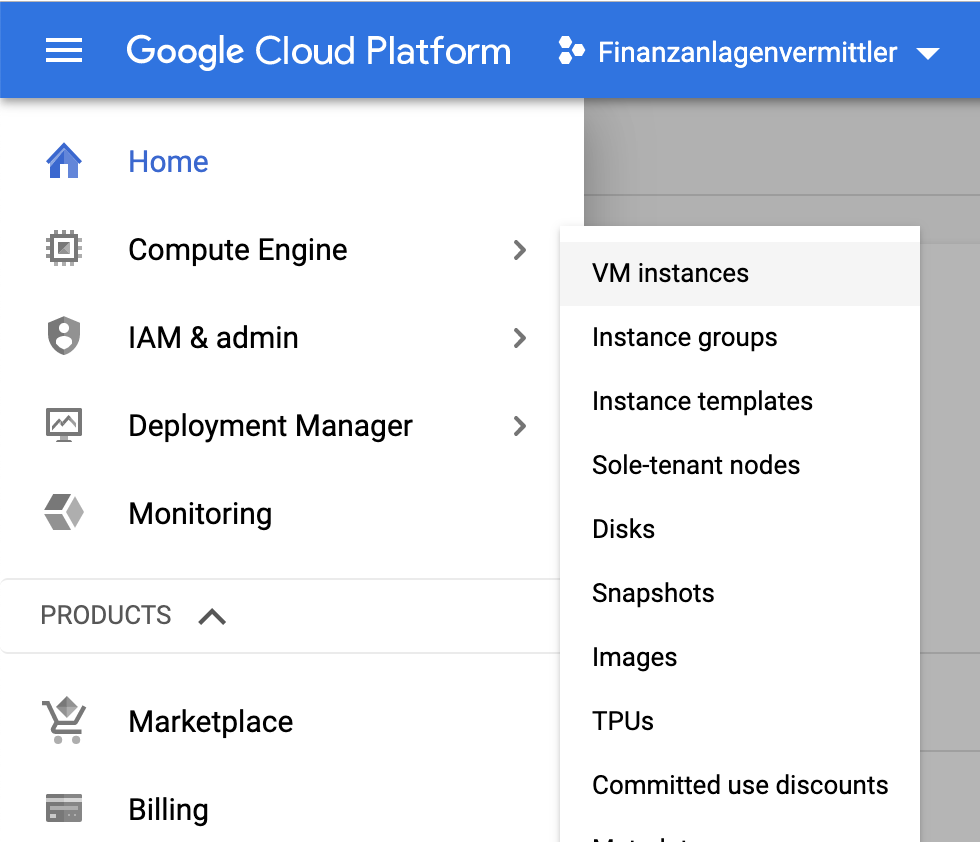
You could
Here you see that you could create this on your own…
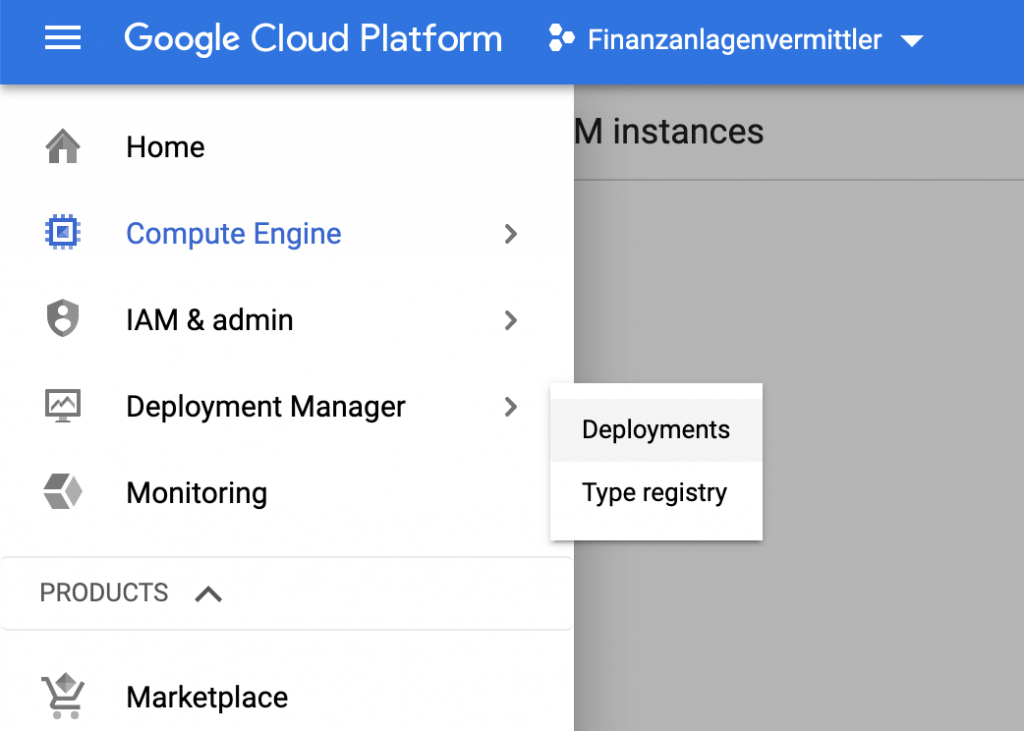
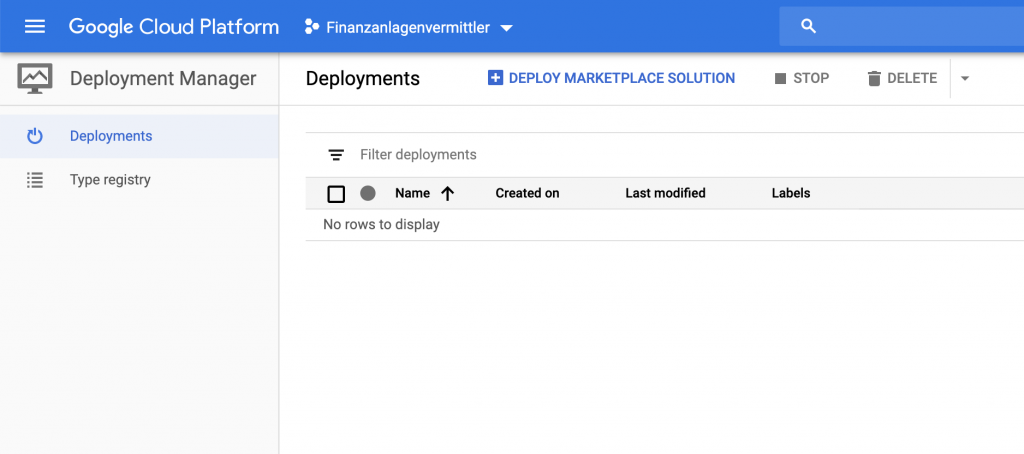
But there is an easier solution: go to the menu, and select Deployment Manager, then Deployments
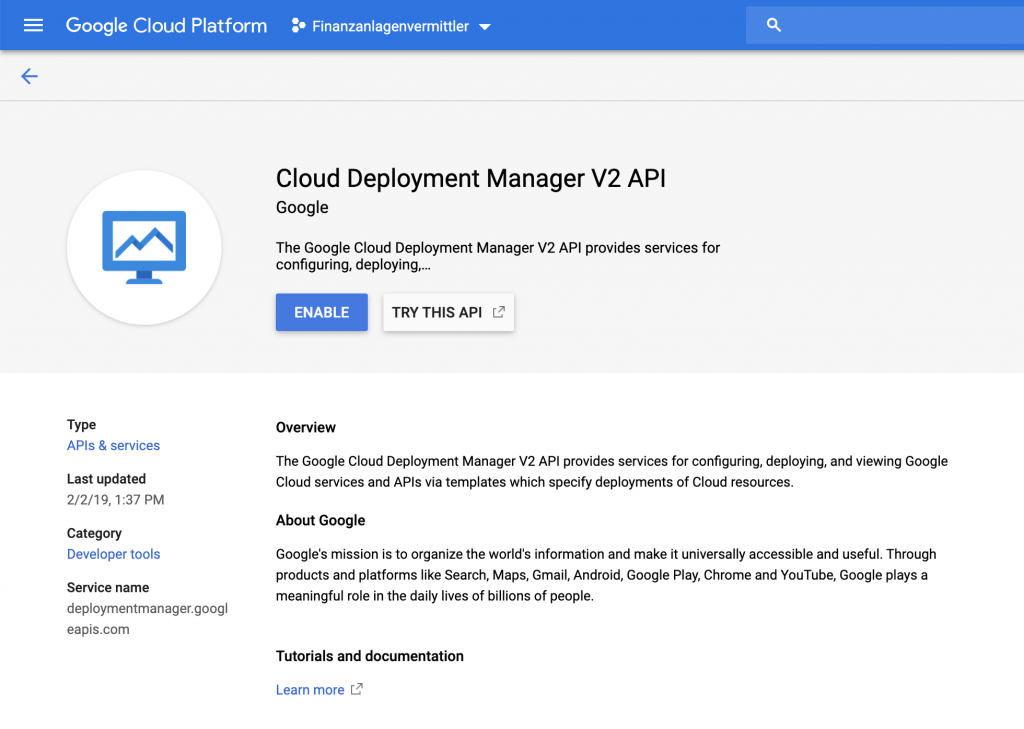
There, enable the Cloud Deployment Manager v2 API
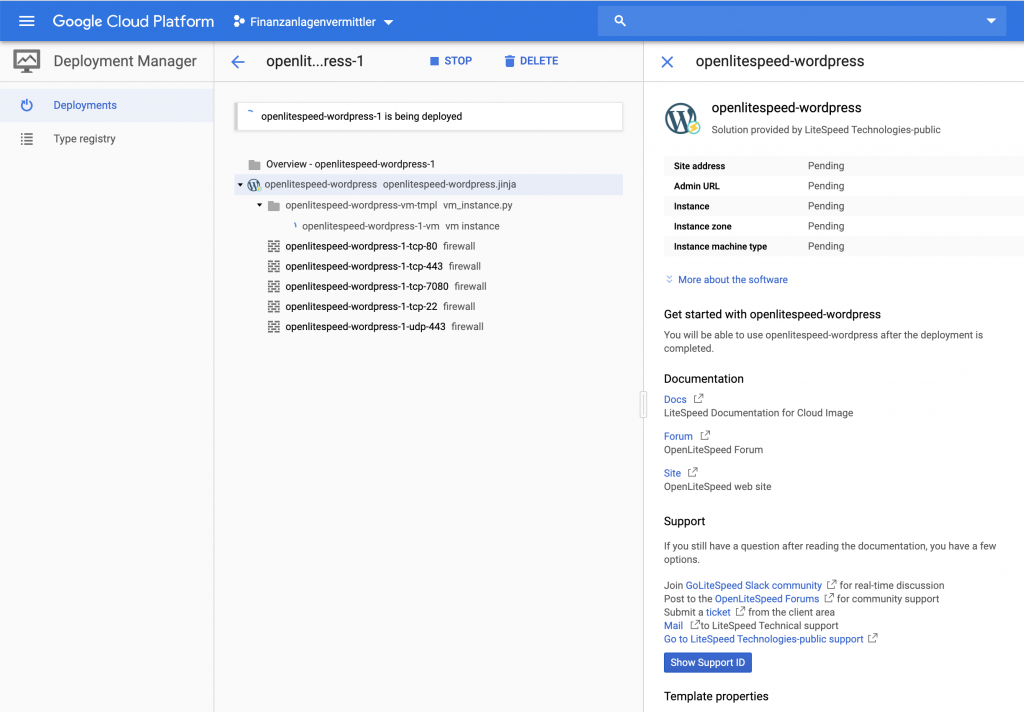
Then click on “Deploy Marketplace Solution”
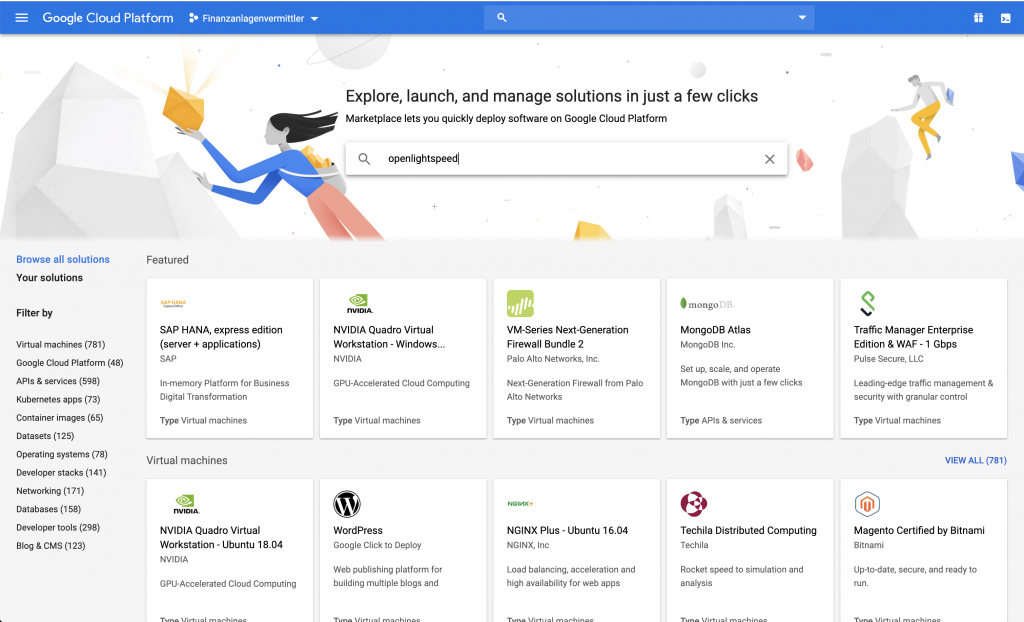
There, you can see a search function: look for openlightspeed
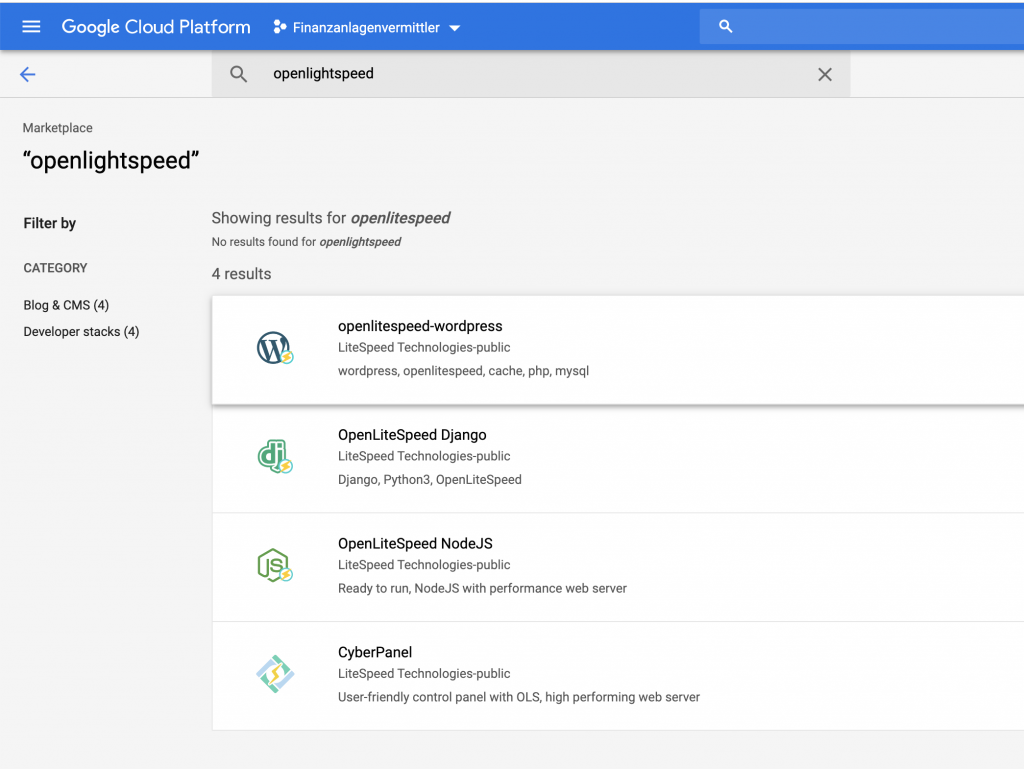
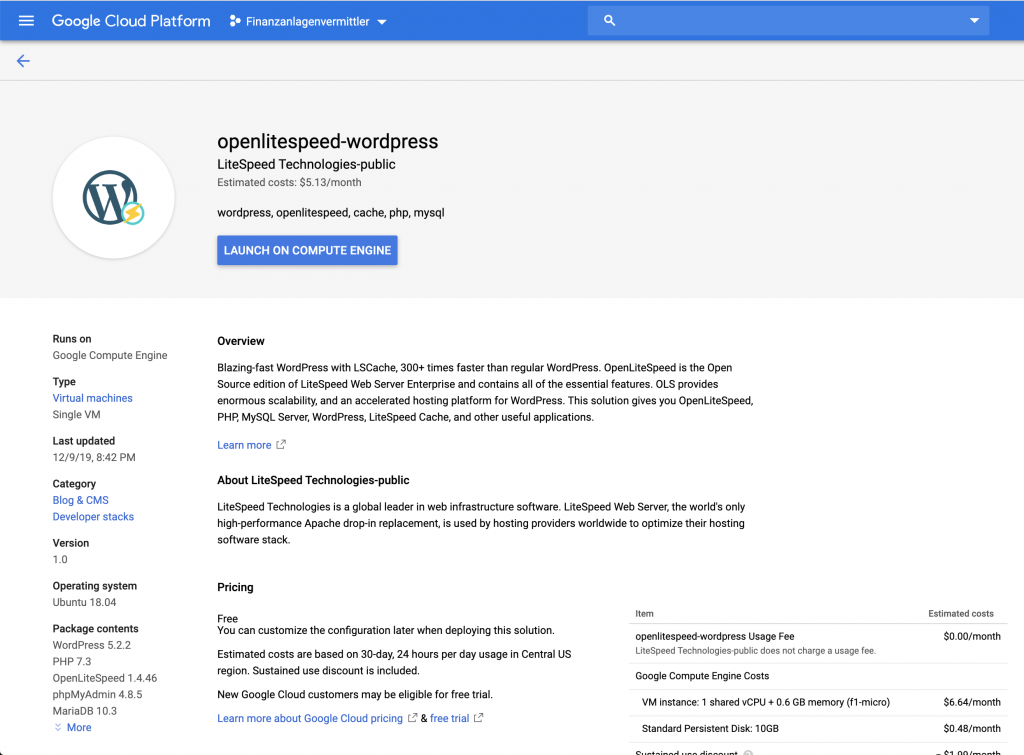
Select : openlightspeed-wordpress to install wordpress, openlightspeed, cache, php, mysql
Then click on Launch on compute Engine
Ideally, you would place your server in a zone located near to your main audience. But the free tier of Google Cloud service is only for the US zone, so better stick to it.
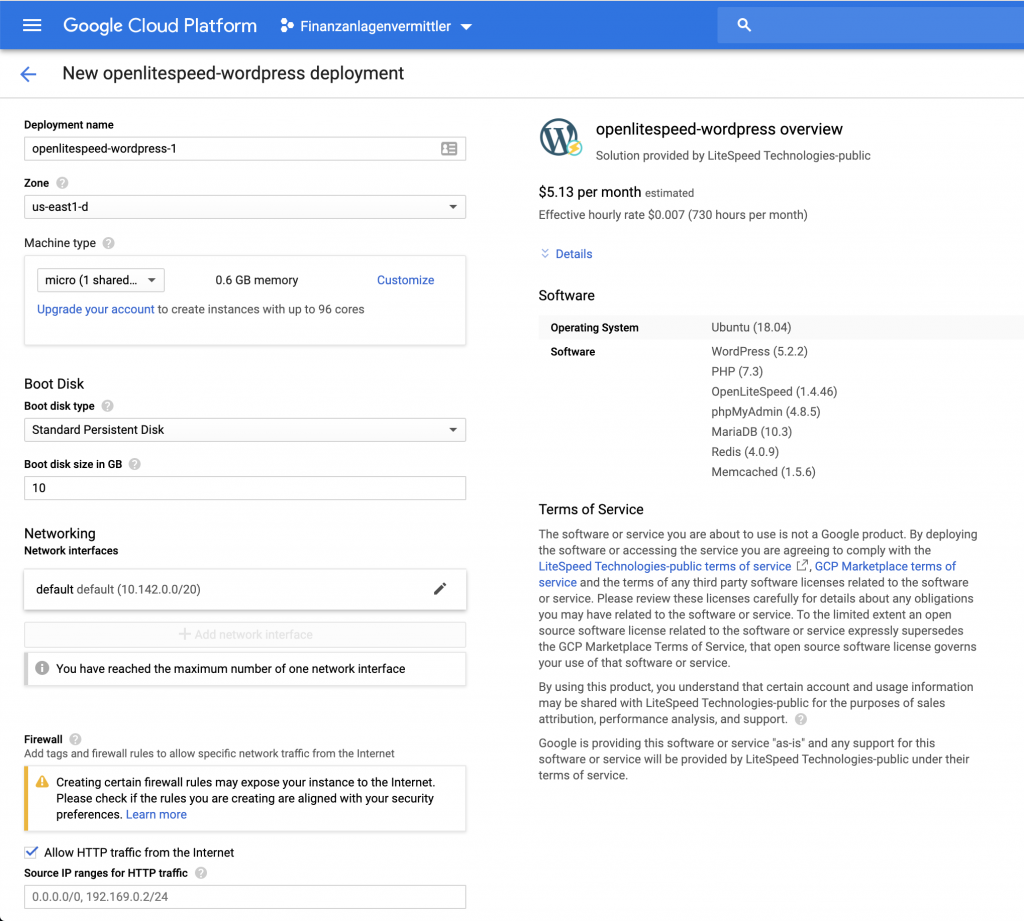
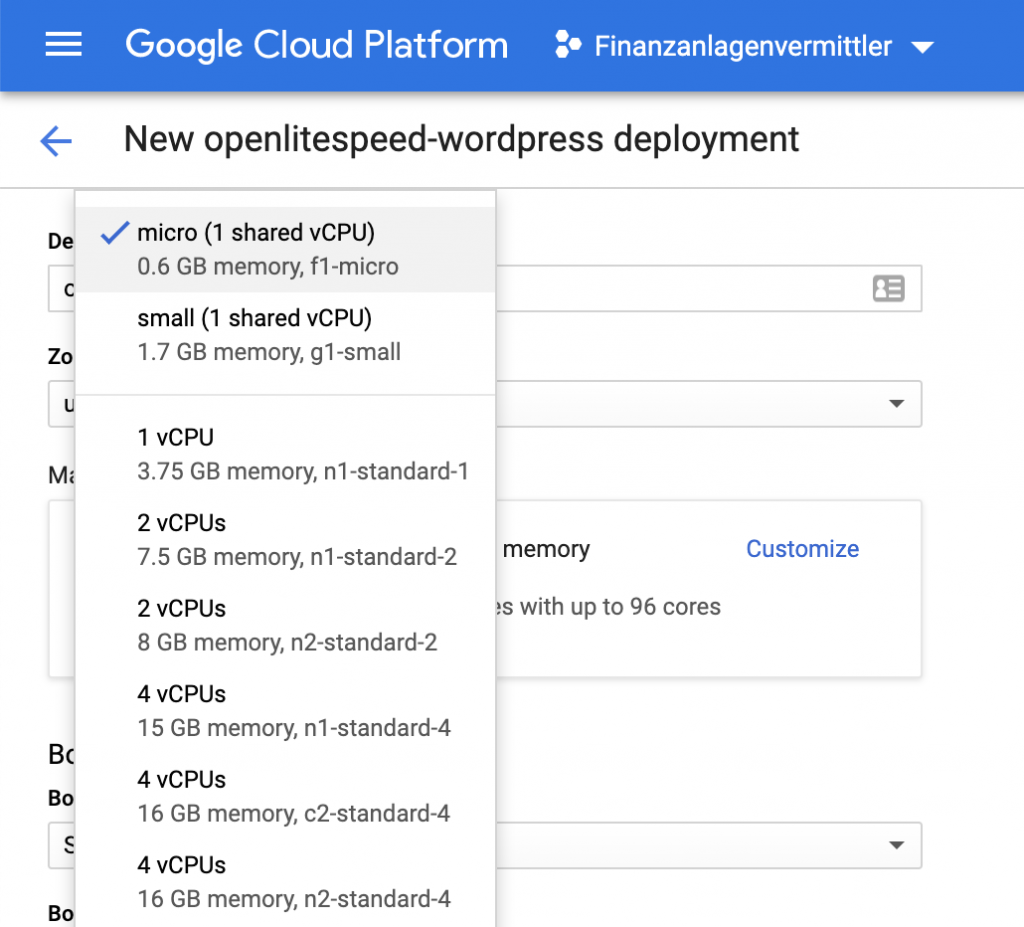
For the machine type, keep the smallest one: micro (1 shared vCPU with 0.6 Gb Memory, f1-micro)
For the disk size, keep standard persistent disk, but you change the size from 10Gb to 30Gb without extra cost, let’s do it.

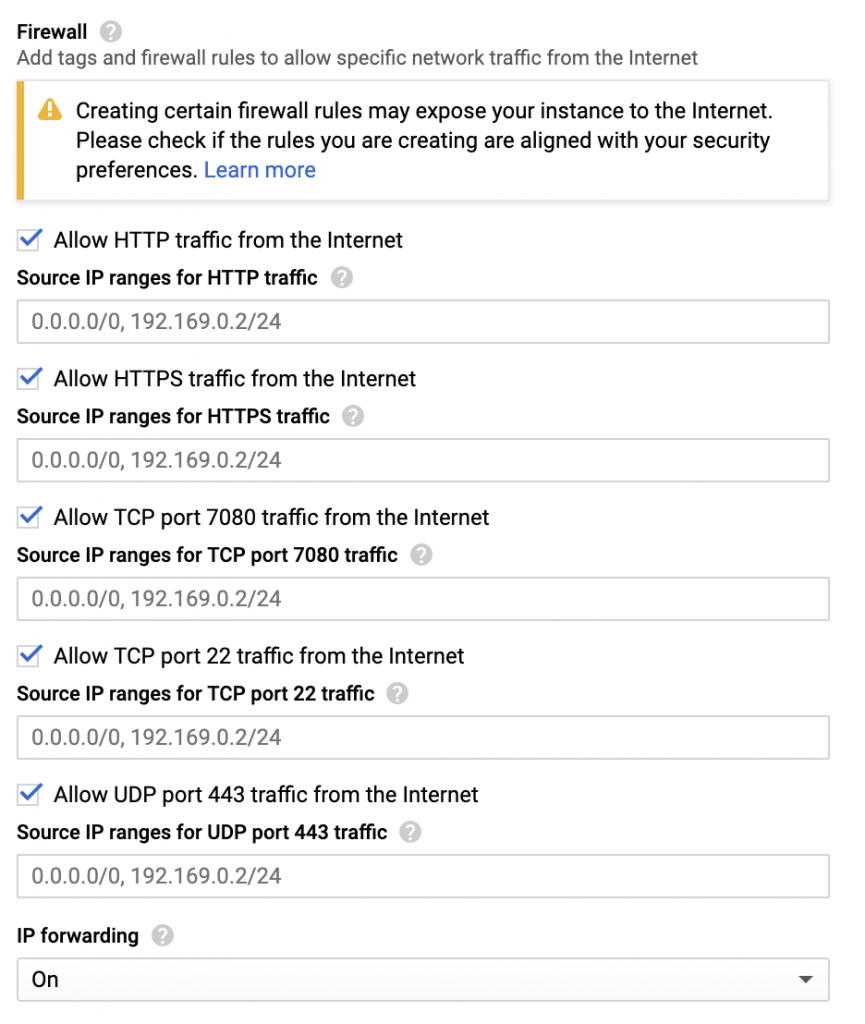
Allow all trafick on the firewall settings
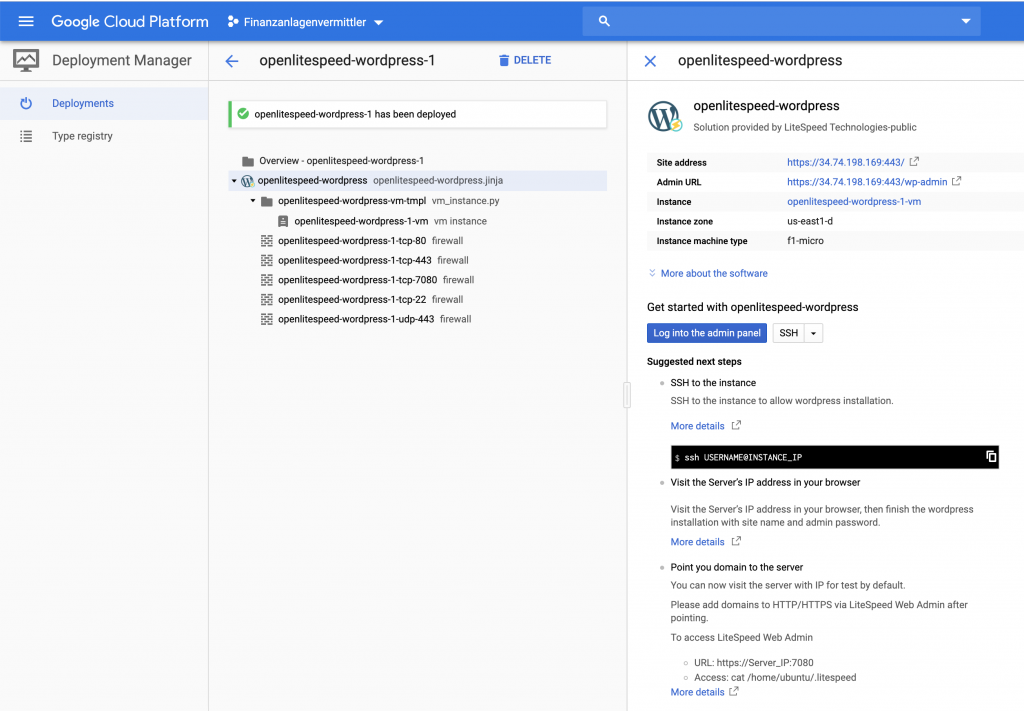
Then click Deploy and wait for a few minutes.
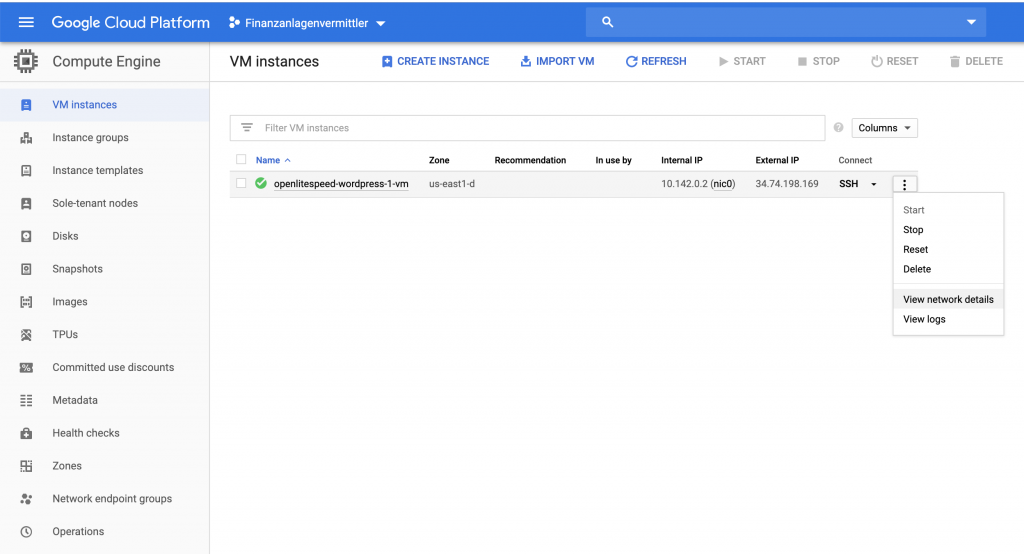
After it’s ready, we have to reserve the IP address linked to this project
For that, select in the menu: Compute Engine, then VM instances
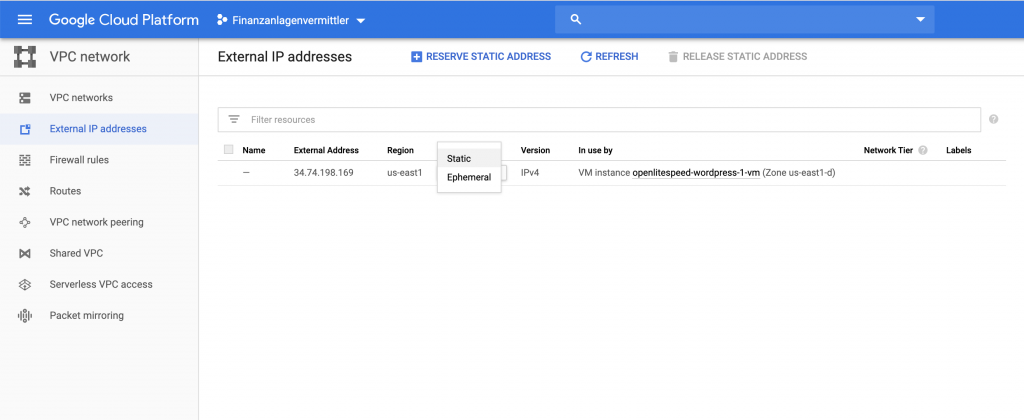
There, select View Network Details:
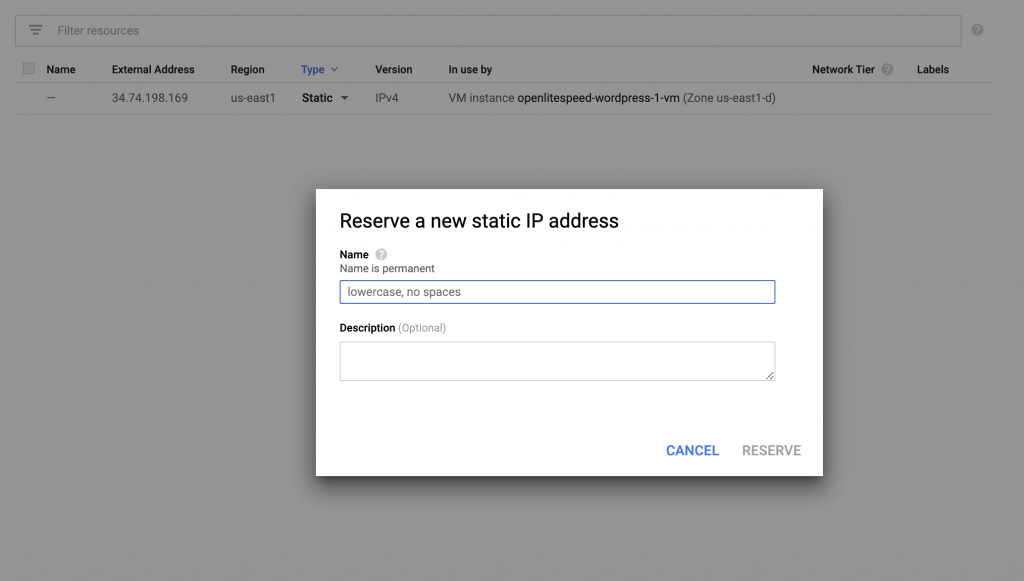
Select External IP addresses, then switch from Ephemeral to Static.
There, you’ll give it a name, for example nameofyourdomain- ip
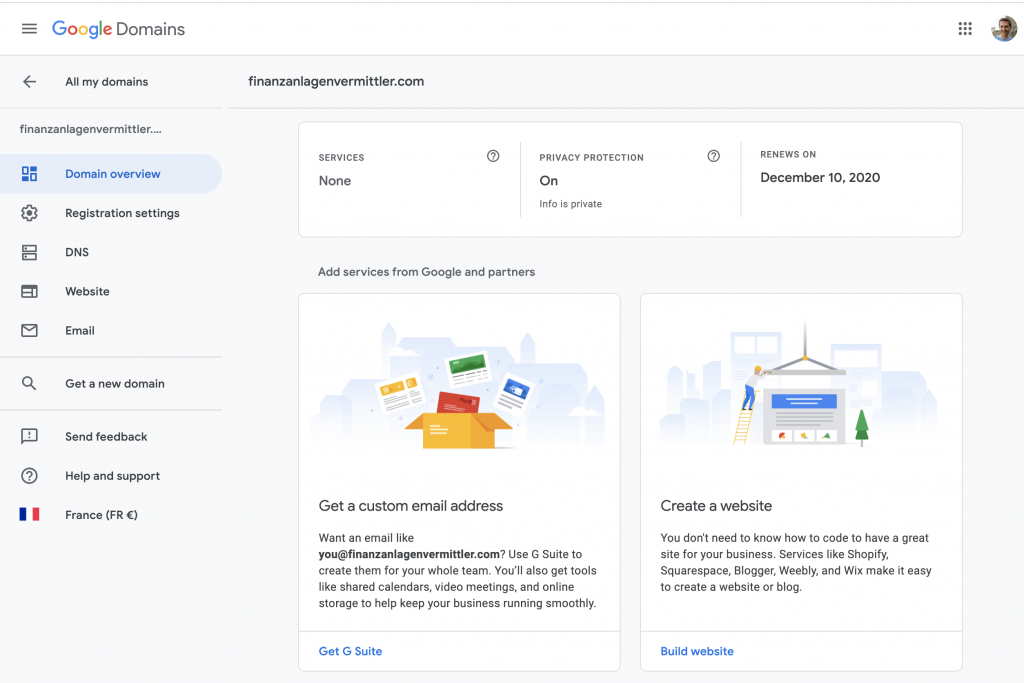
Here I recommend to make a break and go to your domain name DNS Management.
Why? Because during the next steps, a script will run letsencrypt to create the SSL certificates, and this will only work if the domain name is already associated with the right IP address (at least that’s what I understood by trial and error).
———- GOOGLE DOMAIN ——
Let’s go to domains.google.com to update the DNS settings to point to the static IP Address of our VM instance.
Select your domain, then click on DNS:
Go to the bottom of that DNS page, custom resource records:
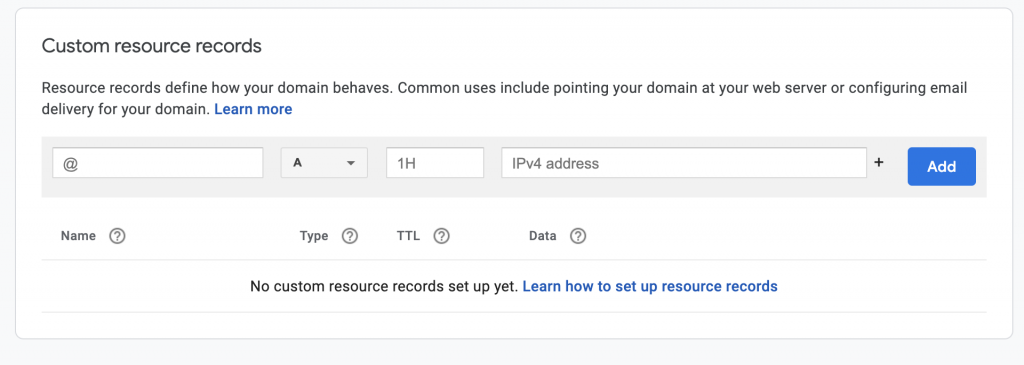
Enter the static IP of your VM Instance, click Add
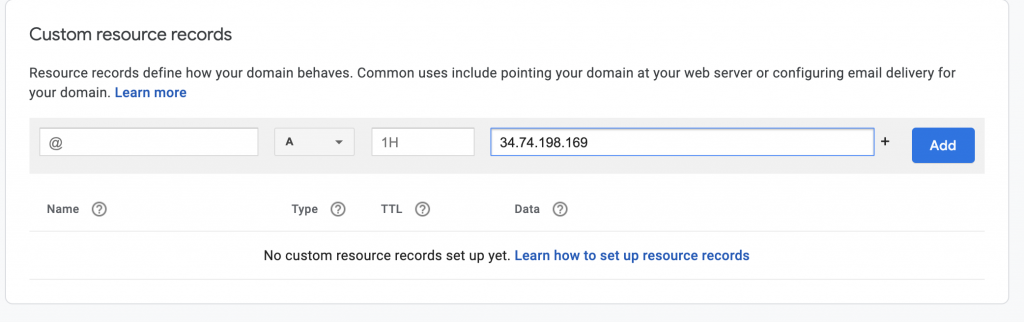
Then add www , CNAME, your domain name, click Add.

——- BACK TO GOOGLE CLOUD ——-
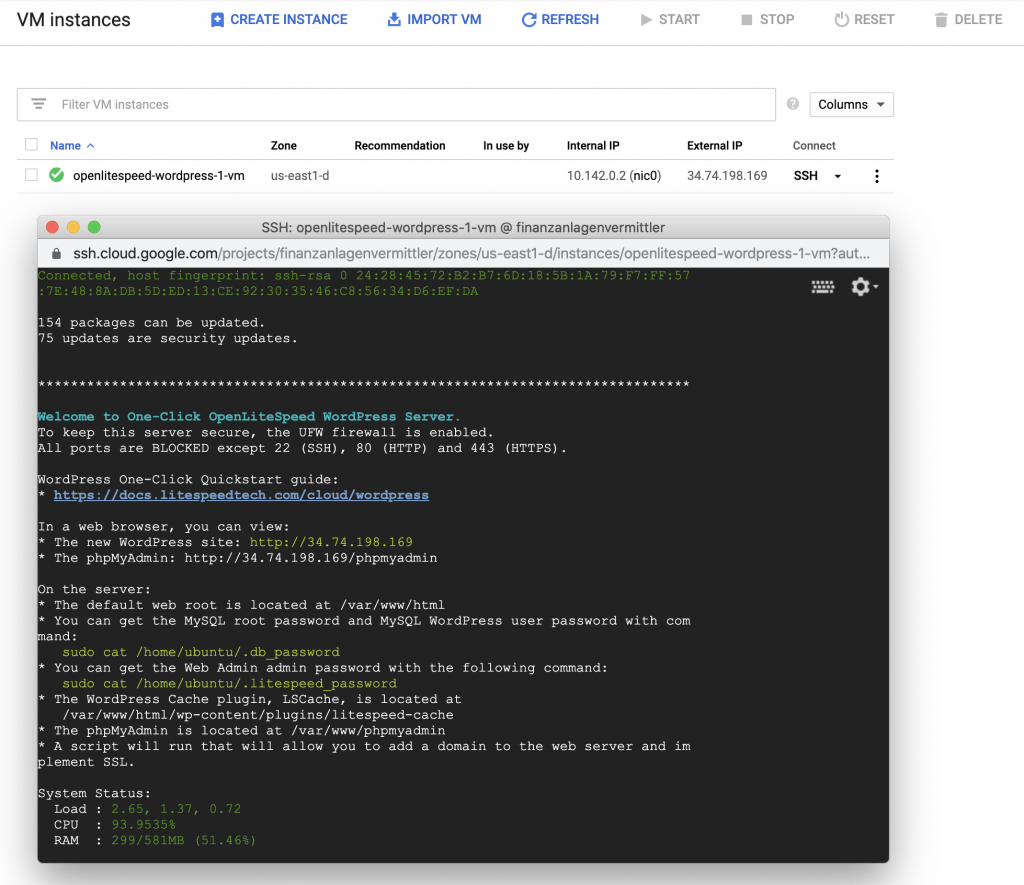
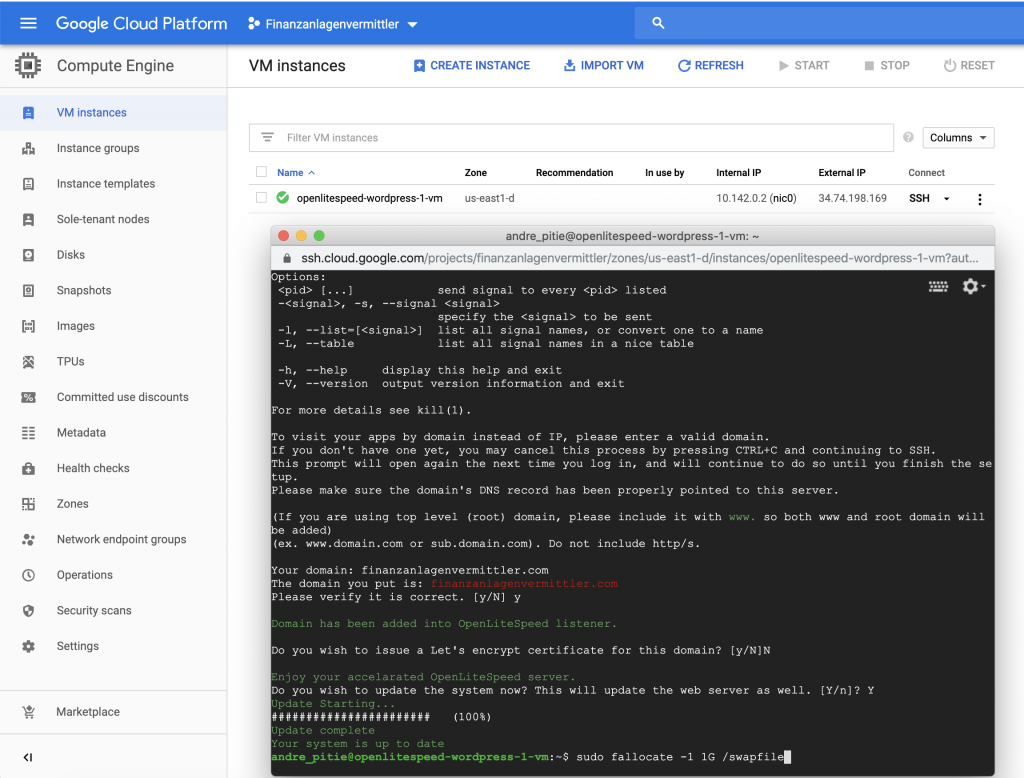
Now let’s go to the server: go back to Menu, Compute Engine, VM instances
There, click on SSH: it will open a new window connecting to SSH server
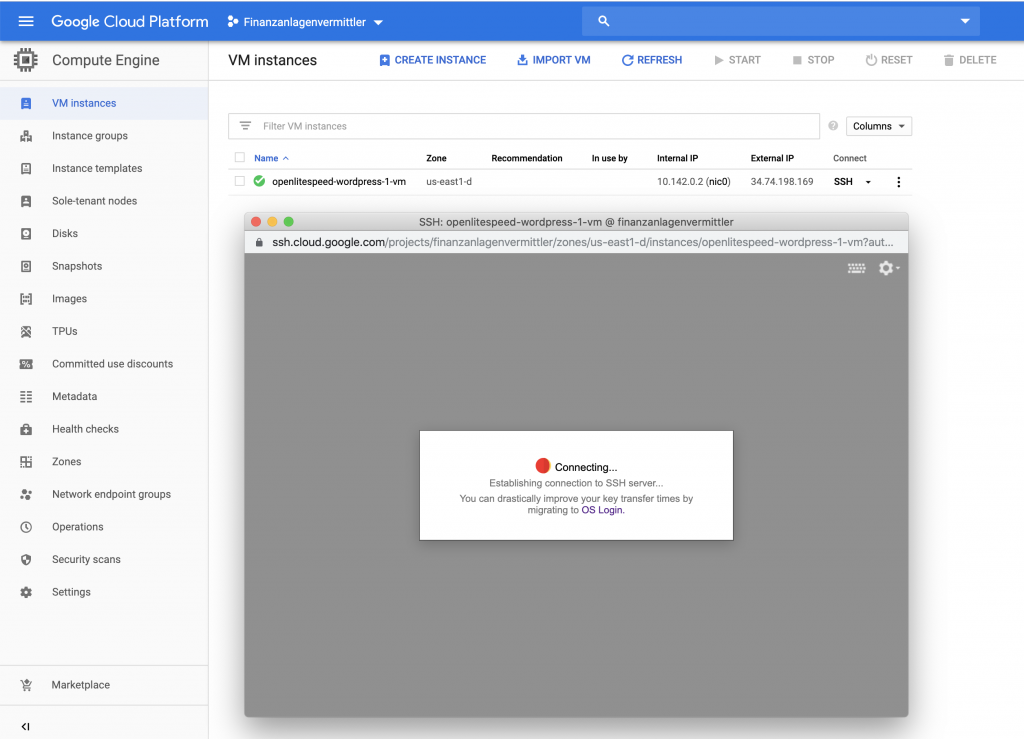
Now we are connected
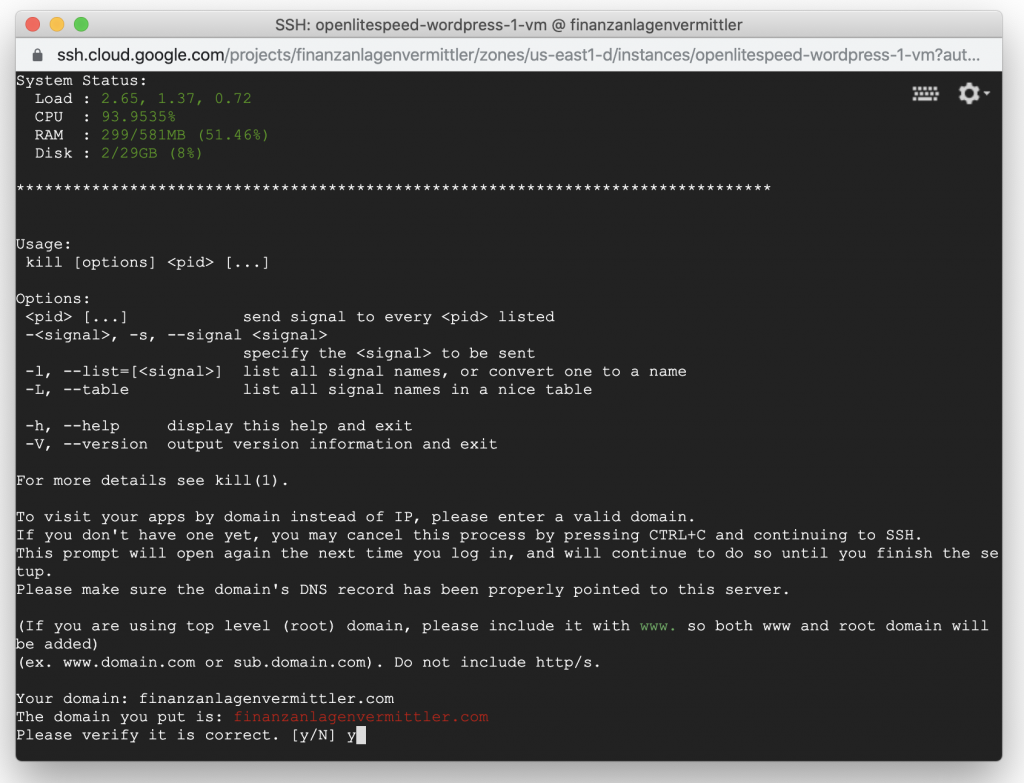
Here, you have to give your domain name:
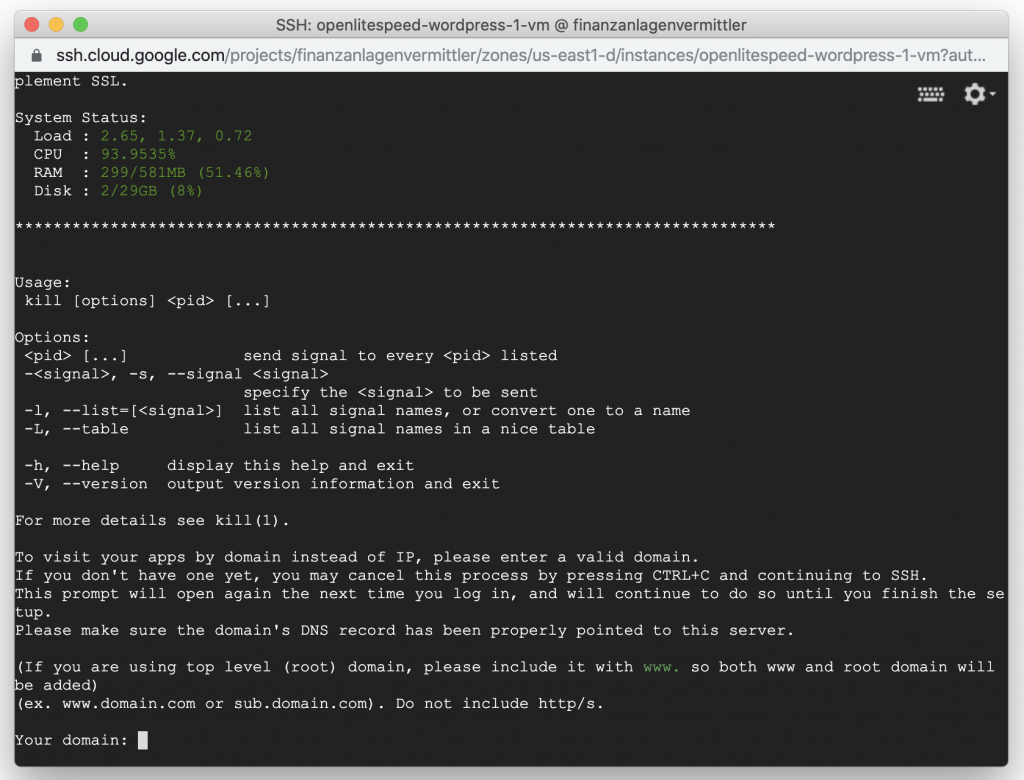
Enter it, including the domain extension, then press enter, validate Y, enter again
Skip the SSL setting: press N and Enter
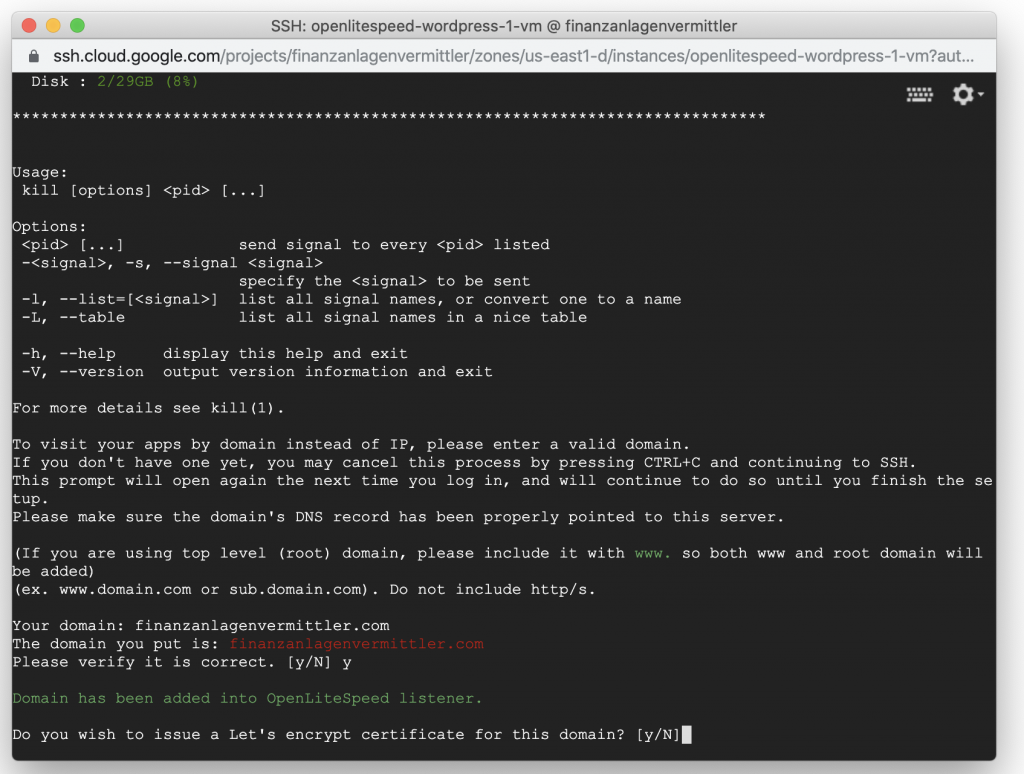
Don’t skip the SSL settings. Accept to issue a let’s encrypt certificate for this domain.
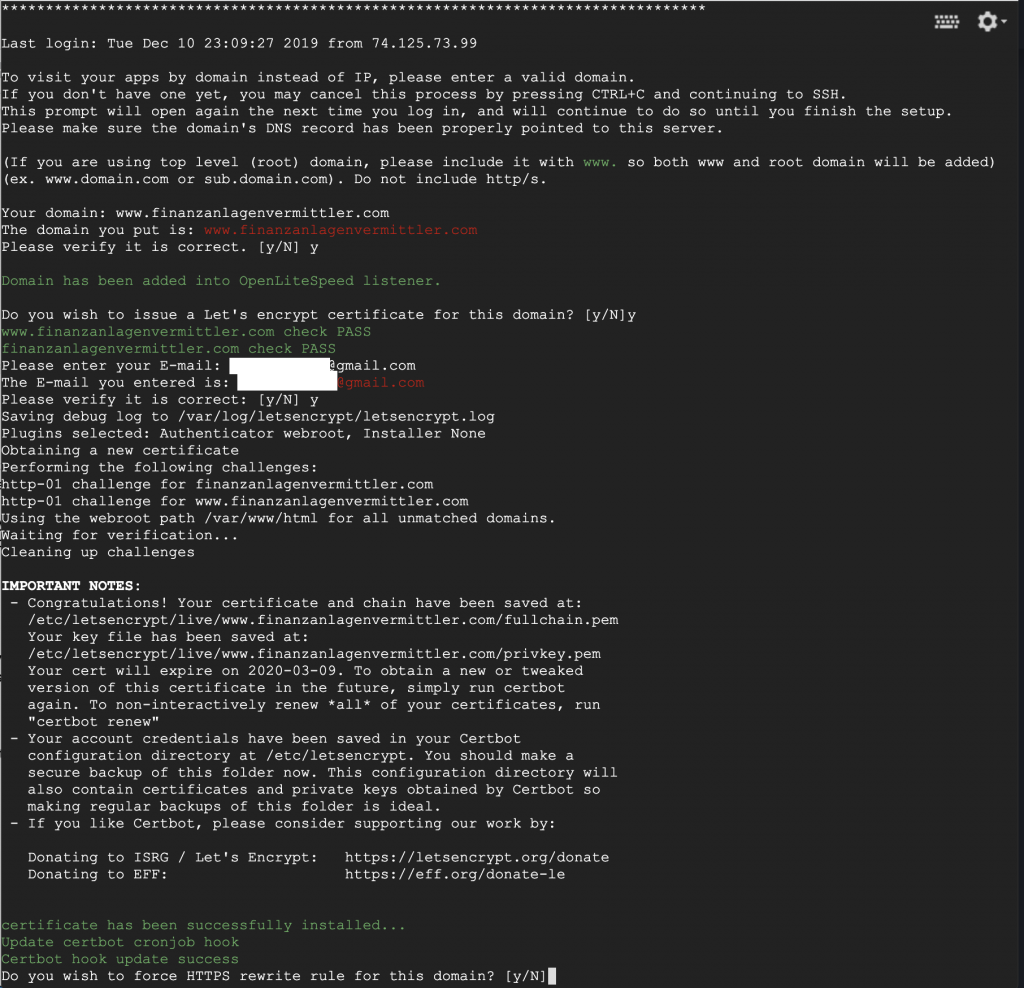
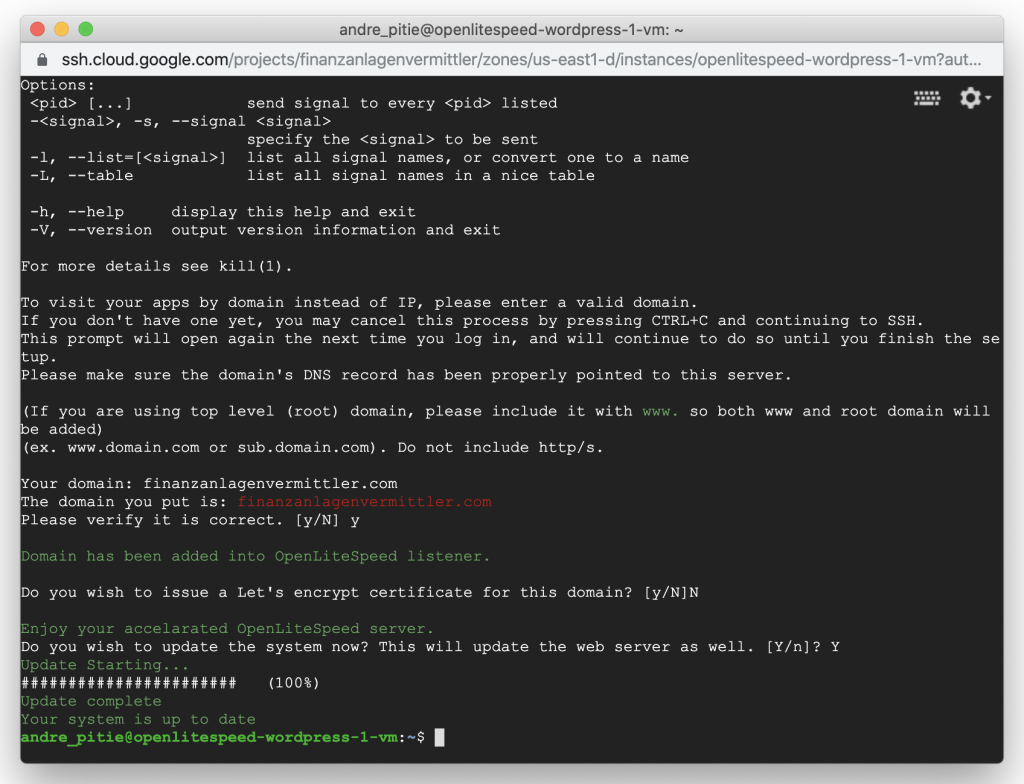
Then, update the server: press Y and Enter
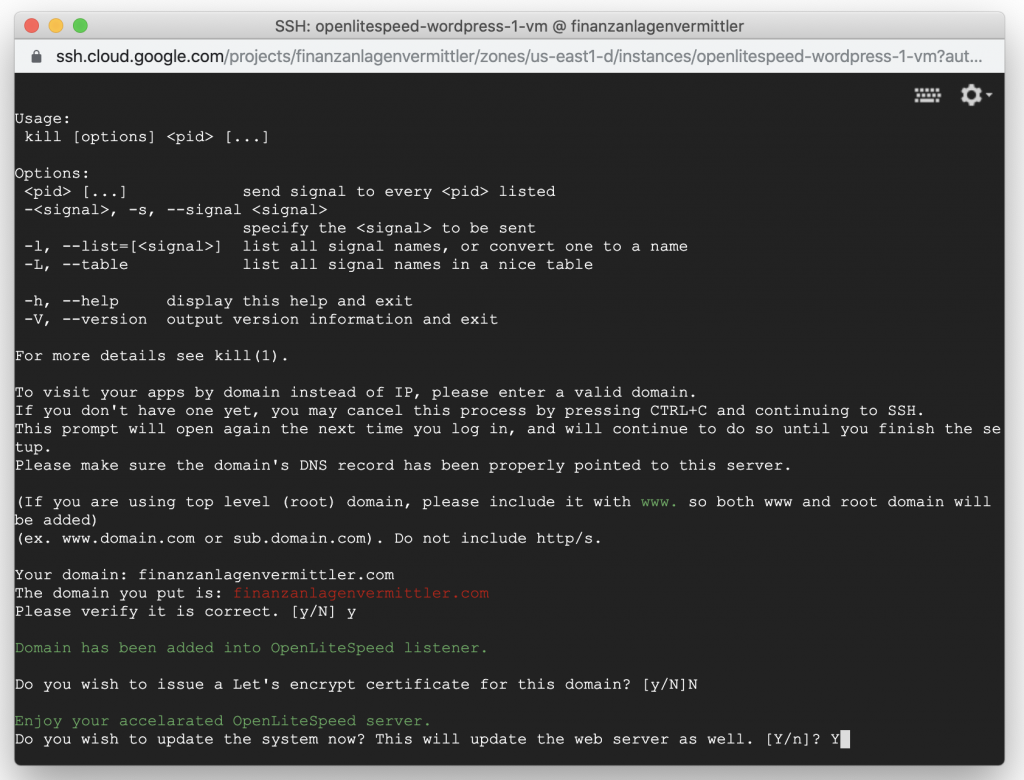
All right, the server is now up to date:
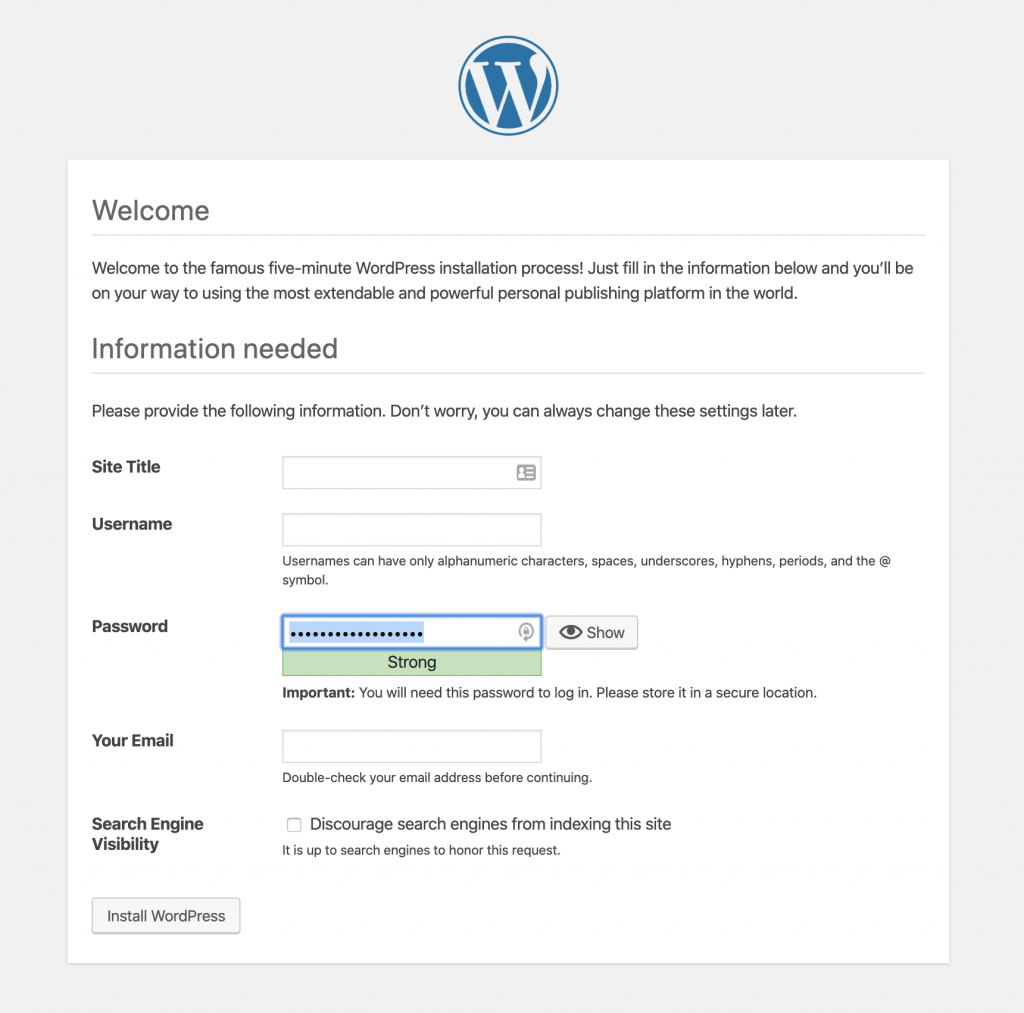
Then, open a browser, and enter the static IP Address, it will automatically redirect you to the configuration of WordPress. Select your language.
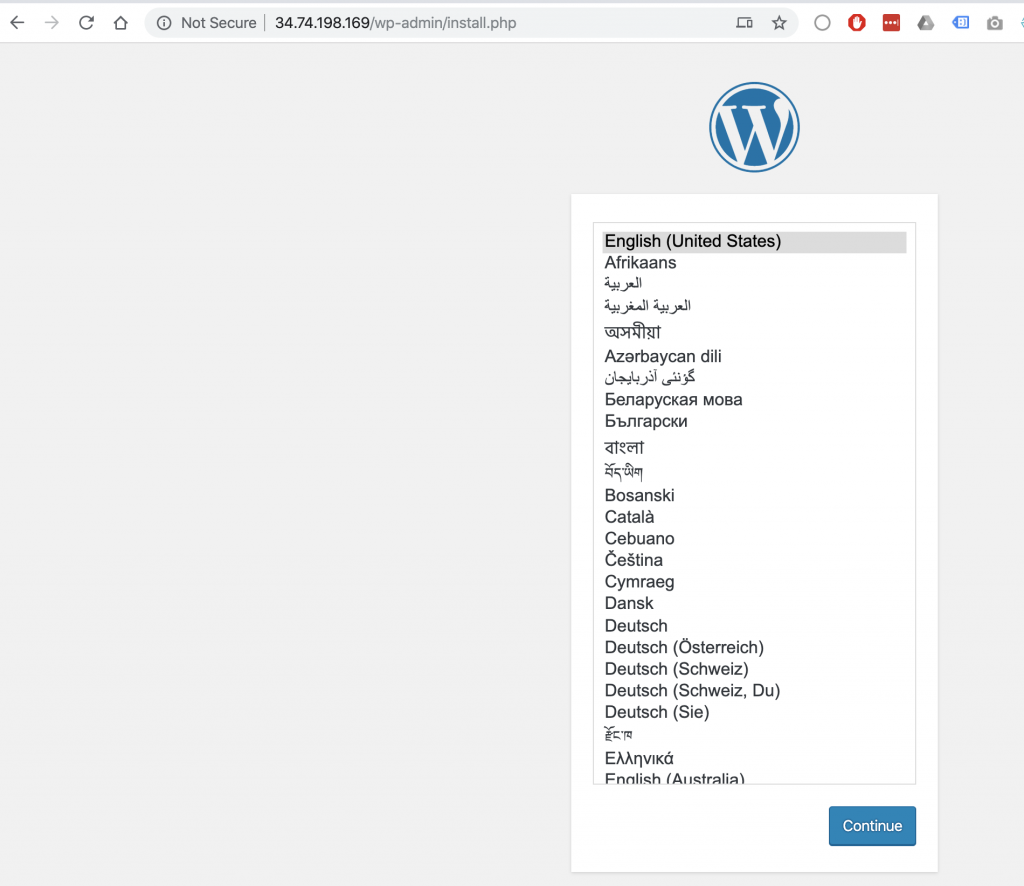
Give your website a title, select a username and password, an email, and click the Install WordPress button.
And we are done:
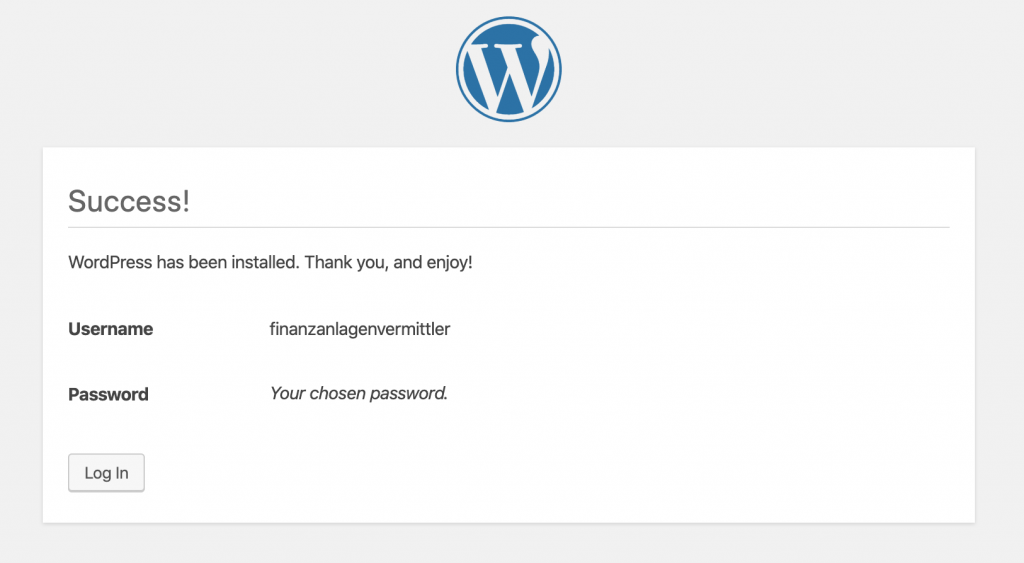
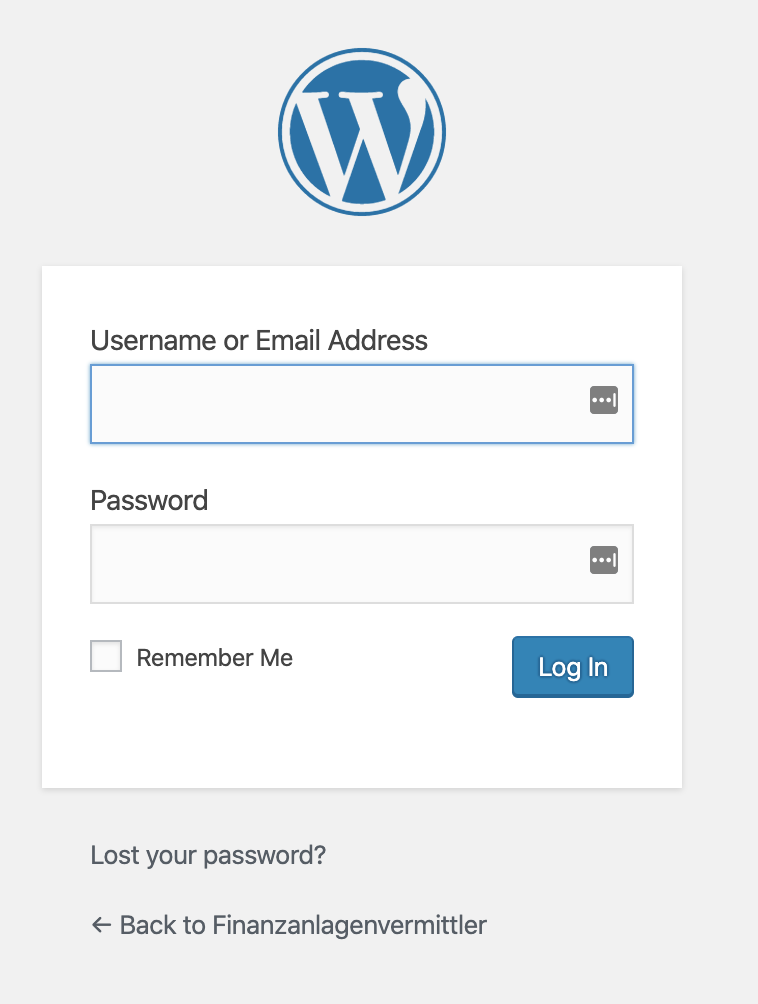
Now you can login to WordPress
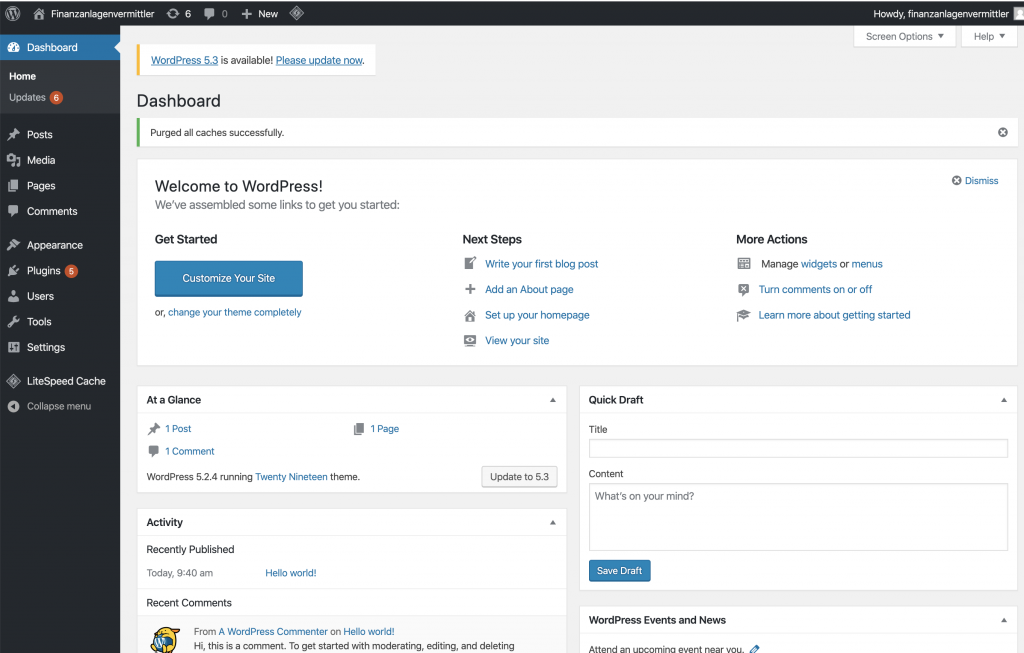
Now you can customize your website on WordPress
This setting should enable you to receive 1000 visitors per day without any problem. If you want to handle more traffic, think about cloudfare or cache plugin.
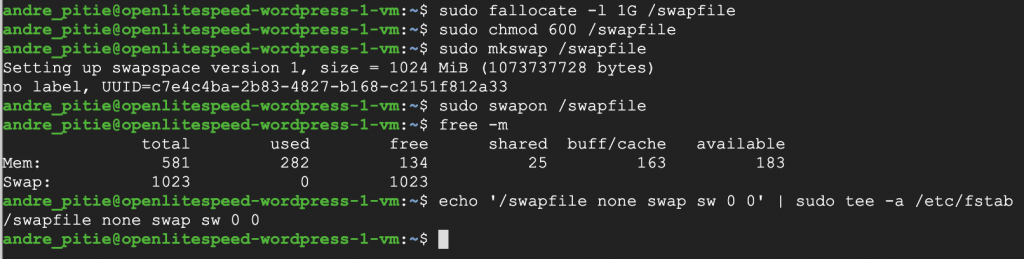
But as we have a very small server RAM, we should turn on swapfile, to allocate some disk space to be used as memory if RAM is running low.
For that, we go back to the server (compute engine, vm instances, click on SSH or just find back the window where the terminal is already running.
Enter the following command: careful: this is -l and not -1 (letter L lowercase and not number one)
sudo fallocate -l 1G /swapfile
Set the file permission:
sudo chmod 600 /swapfile
And then select the created file to be used as a swap:
sudo mkswap /swapfile
Then we turn the swapfile on:
sudo swapon /swapfile

Let’s check the memory now: enter the following command:
free -m
And you’ll now see the 1Gb swap file, a welcome extra for the RAM:

But problem is, if you restart the server, this swapfile would be gone, so you need a setting to make this permanent: enter the following command:
echo ‘/swapfile none swap sw 0 0’ | sudo tee -a /etc/fstab
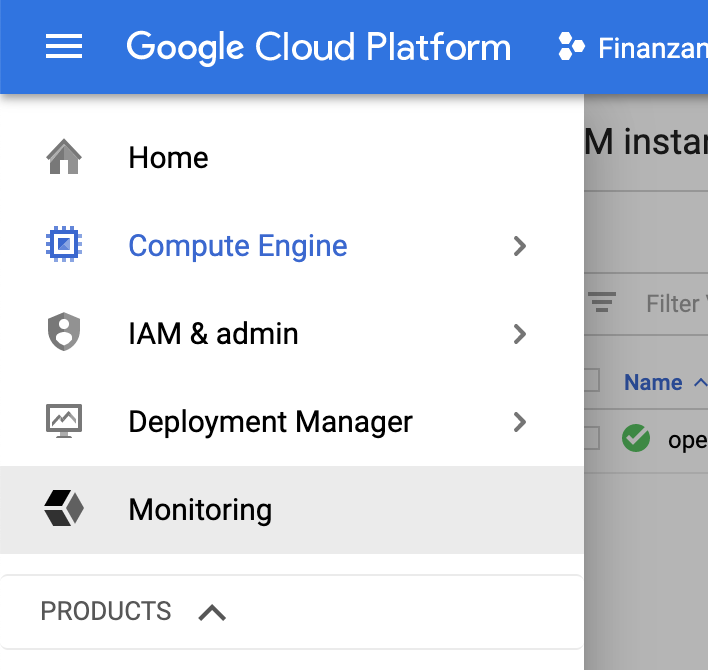
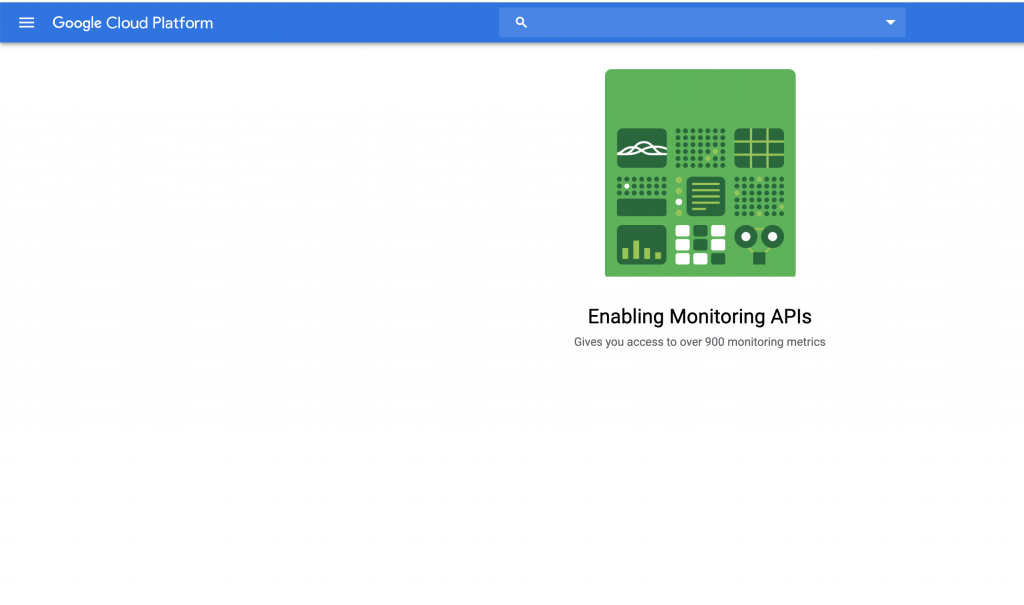
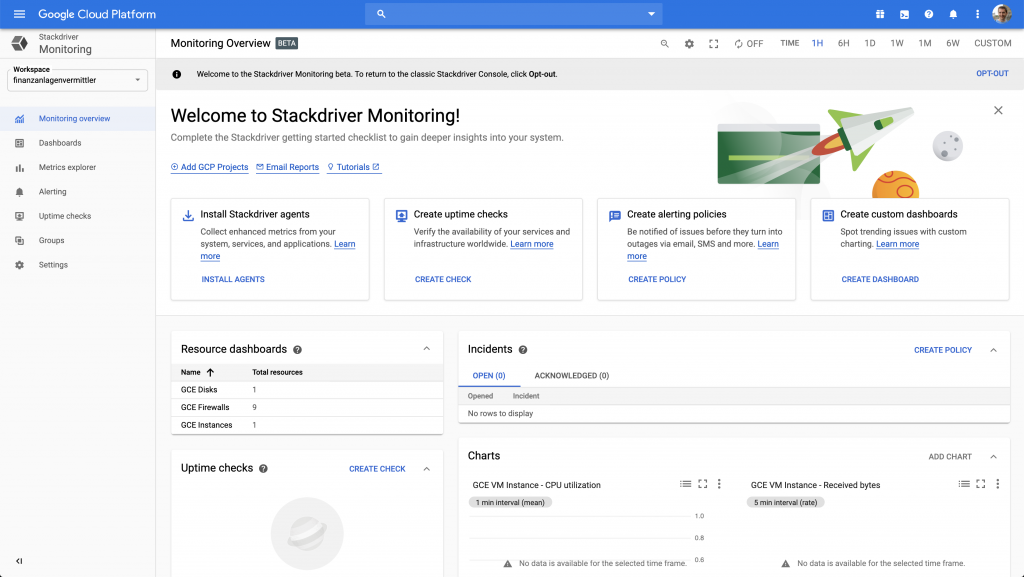
Now, to check the memory usage, let’s go to Menu, Monitoring:
Google cloud creates the workspace
There, you can instantly see the CPU usage
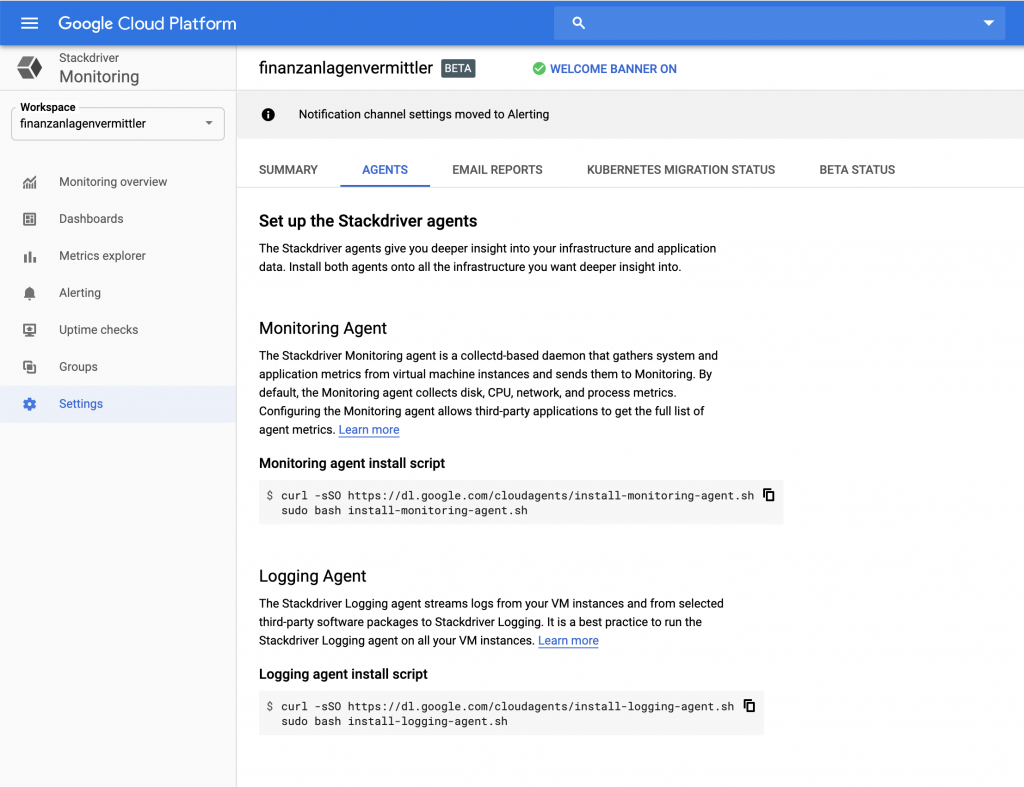
For RAM usage monitoring, you need to install an agent: click on Install Agents
Google provides a command to execute:
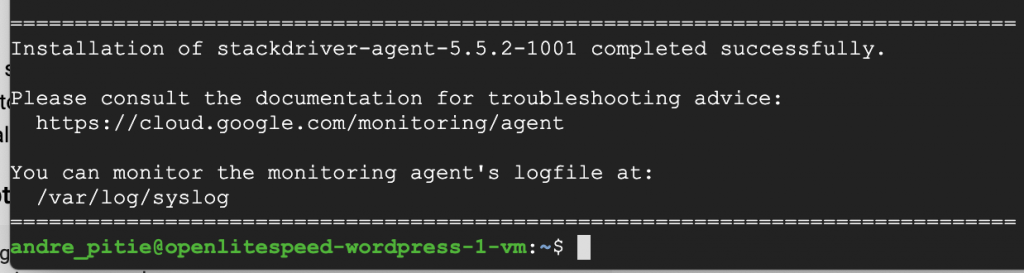
curl -sSO https://dl.google.com/cloudagents/install-monitoring-agent.sh
sudo bash install-monitoring-agent.sh
Let’s execute these 2 commands:

After a while, it’s done:
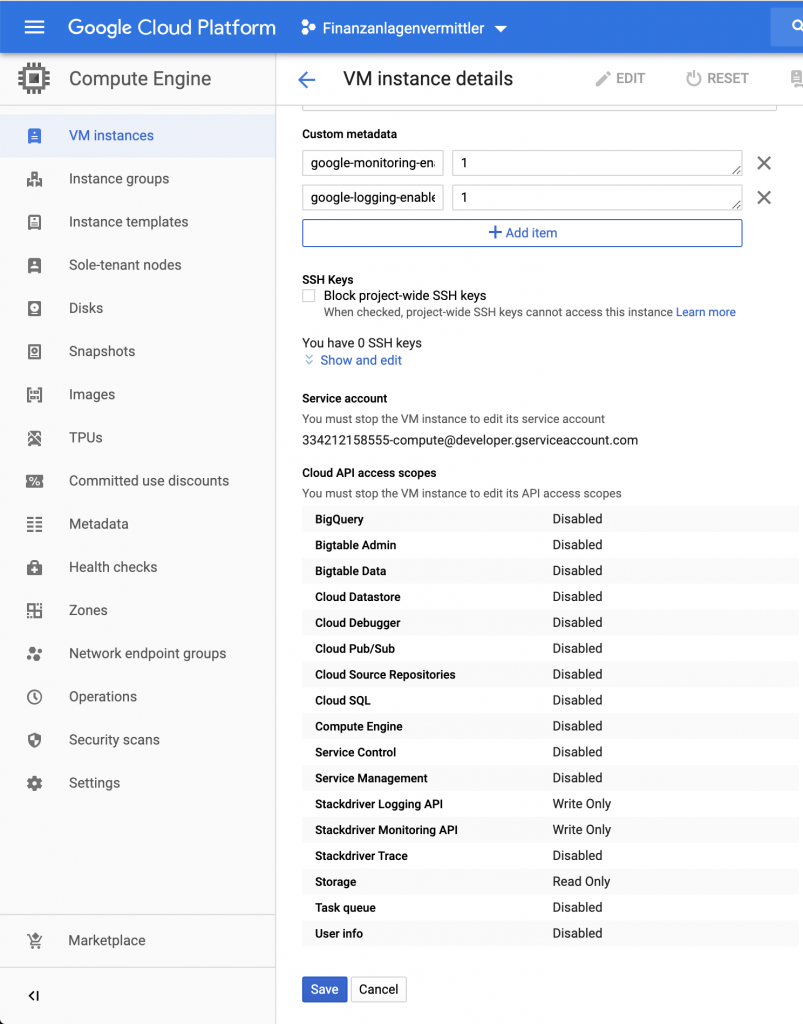
We then need to enable the metadata setting of our VM instance.
For that, Go to Menu, Compute Engine, VM Instances, Click on the Instance to edit it:

Click on EDIT

Go to custom metadata and change both parameters from zero to 1
google-monitoring-enable 1
google-logging-enable 1
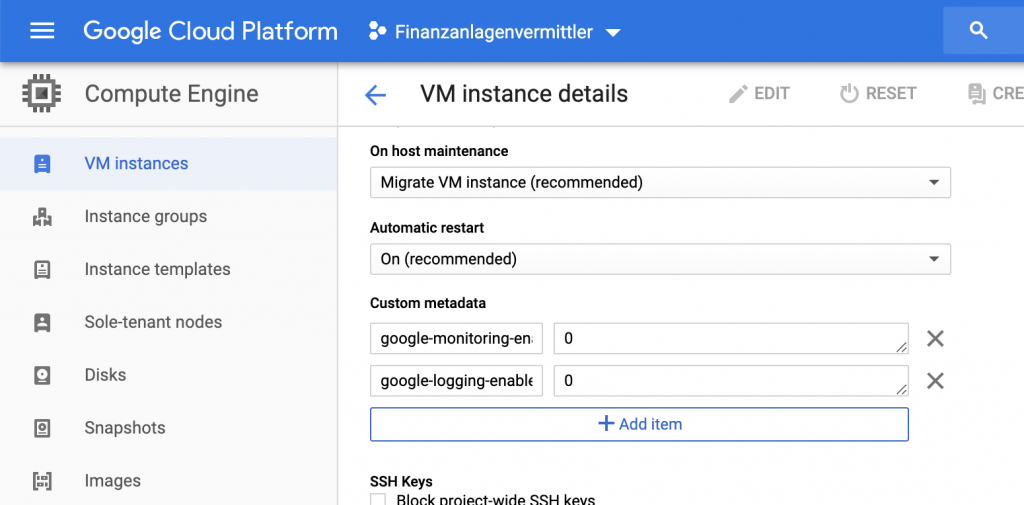
And then click save at the botton of the page:
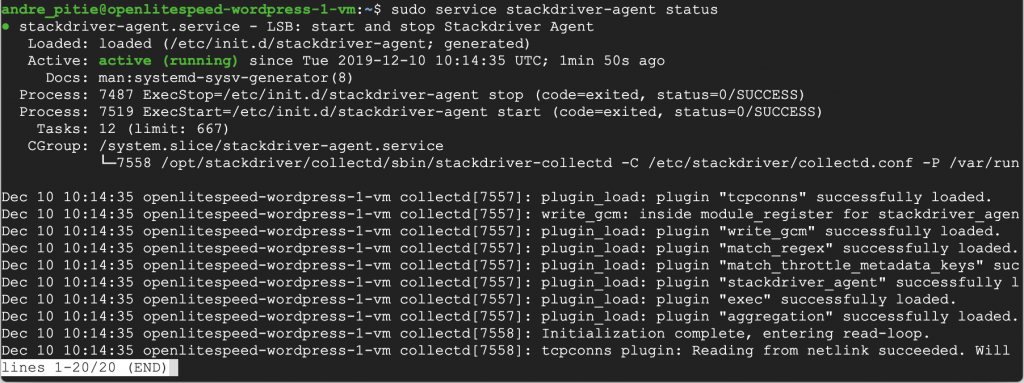
Now let’s go back to the terminal to restart the service:
sudo service stackdriver-agent restart

Now let’s check the status of our agent:
sudo service stackdriver-agent status
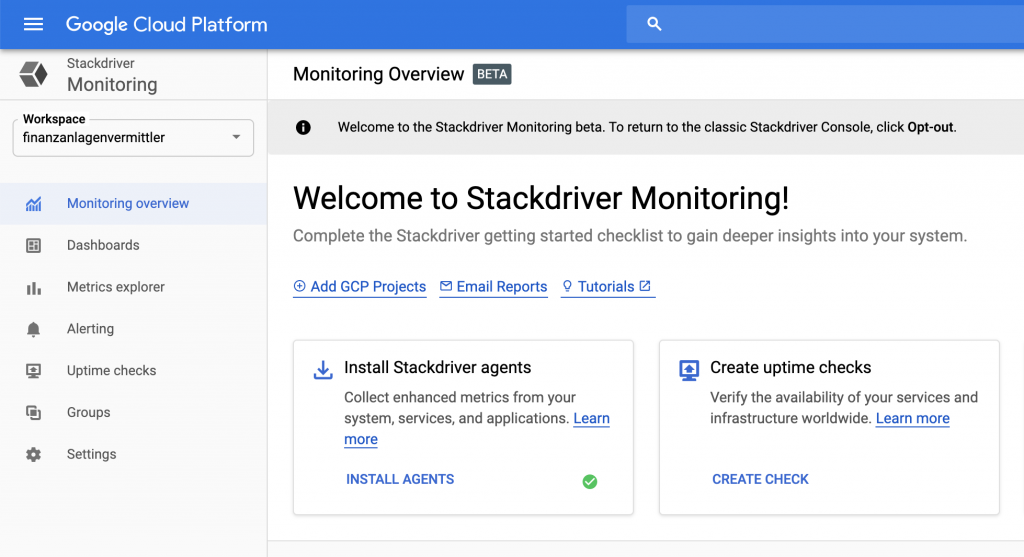
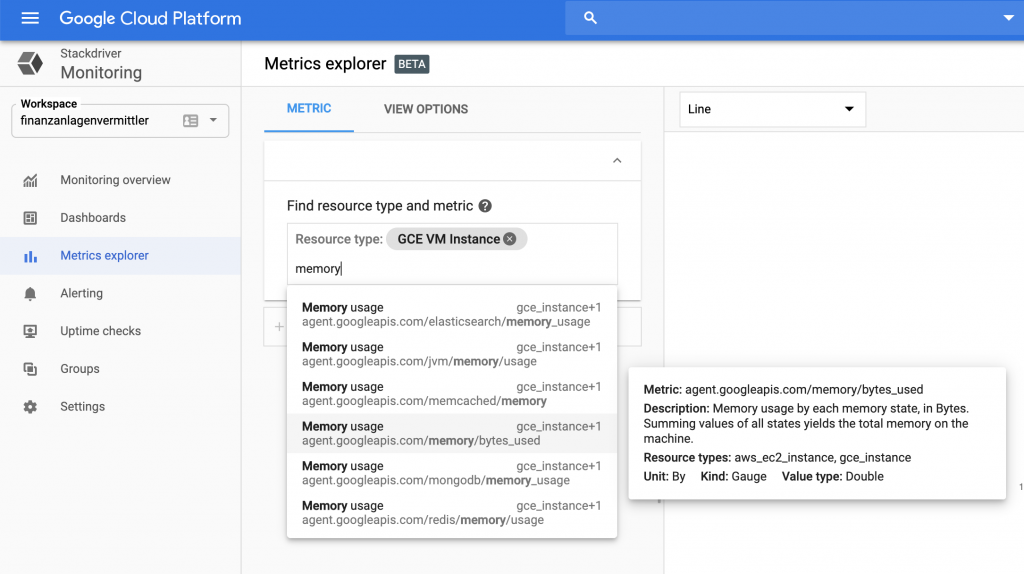
And we are good, we go back to Monitoring: As you can see, the Install Agents has a nice green check mark. Now let’s head to “Metrics Explorer”:
We add the resource type GCE VM instance
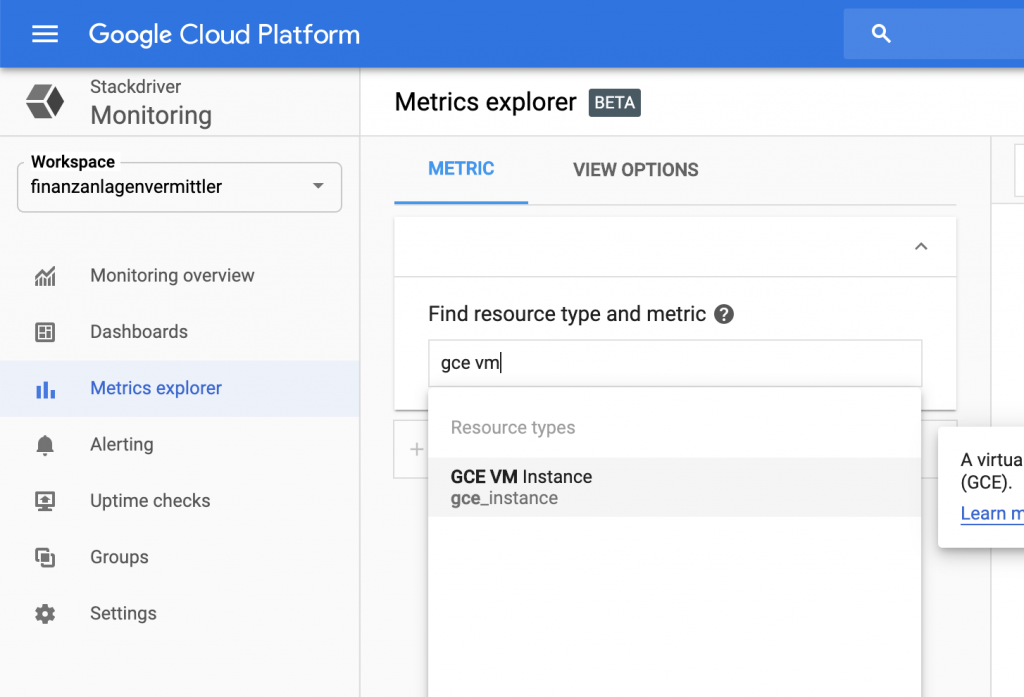
Then, memory usage : bytes used
And here is our graph monitoring memory usage:
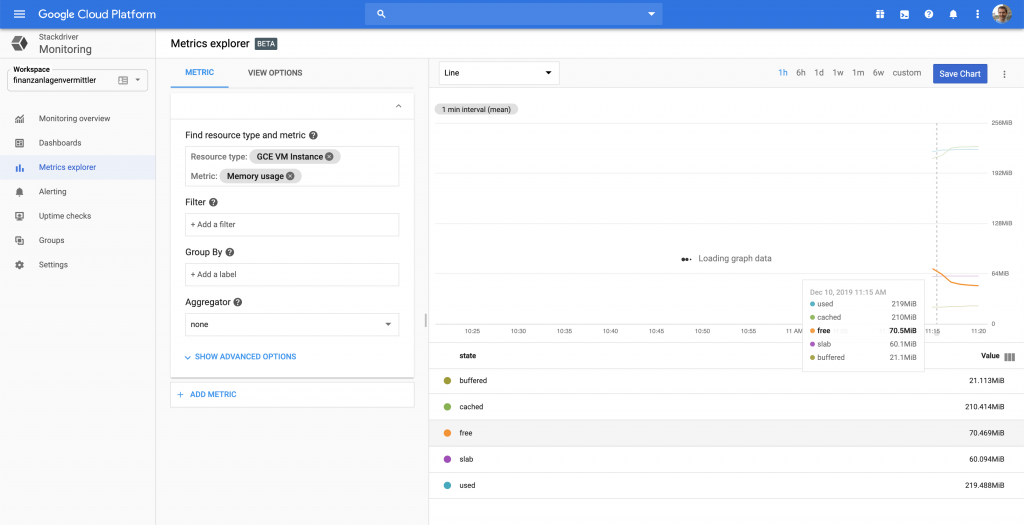
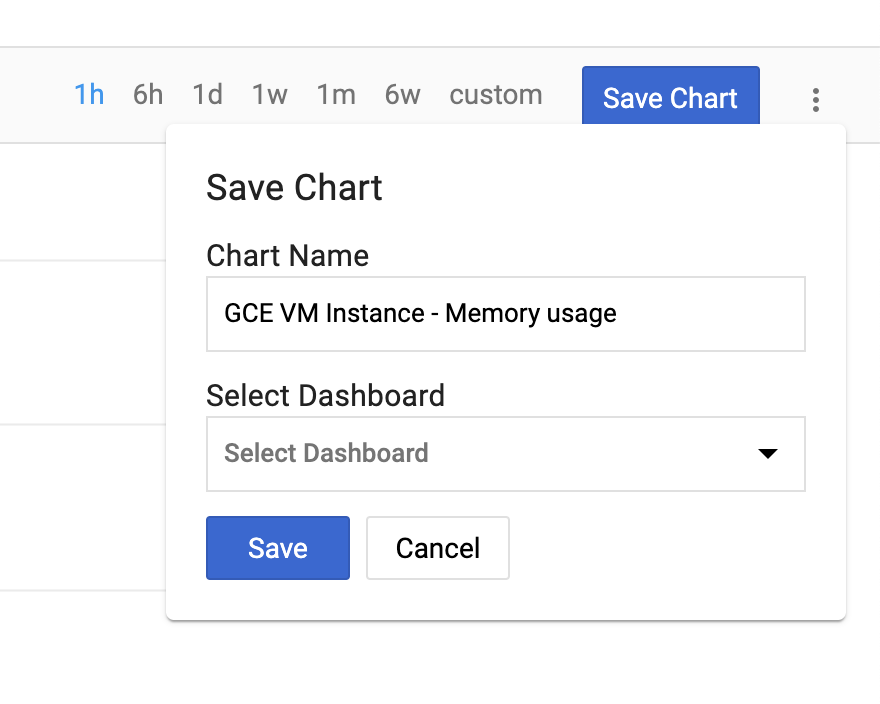
Save the chart
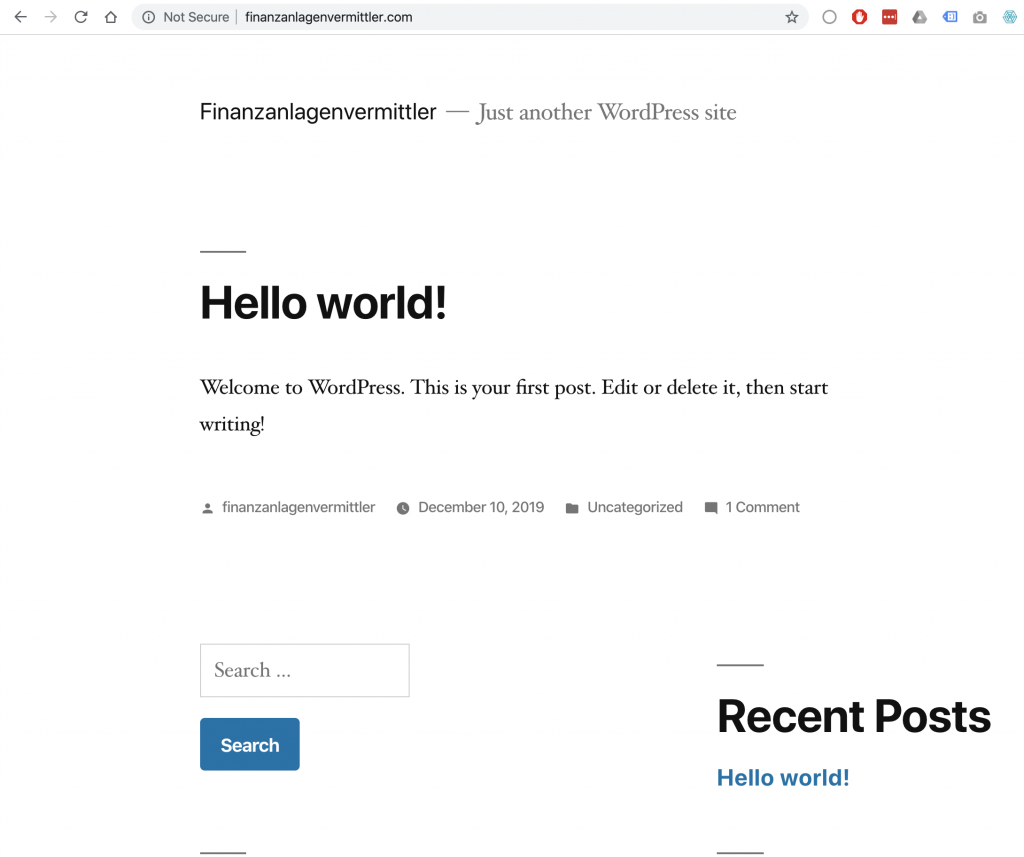
And we are done! You can check your new website, which is now not only accessible through the static IP of your VM instance but also at the domain name you bought and that points to it.
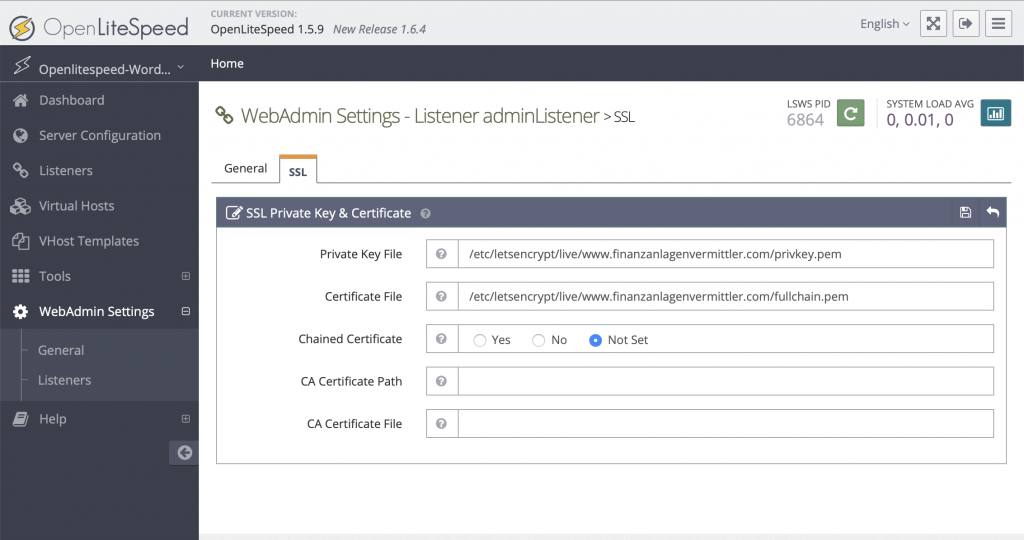
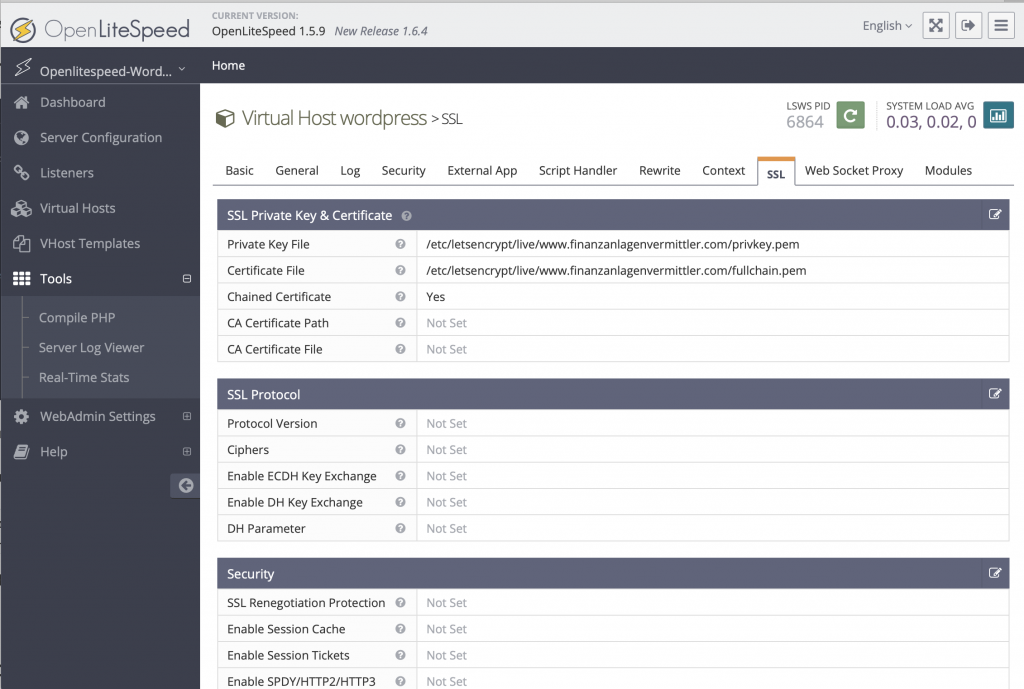
Setup SSL for WordPress on Google Cloud: I followed the instructions of this video:
Also had to access the openlitespeed webadmin domainname:7080 through safari and not google chrome.
To access openlitespeed, you maybe need to setup an admin name and password, for that use SSH and go to your root folder using
cd ..
Then go to the folder usr/local/lsws/admin/misc

until you find the file admpass.sh

to execute it and setup password, enter
sudo ./admpass.sh

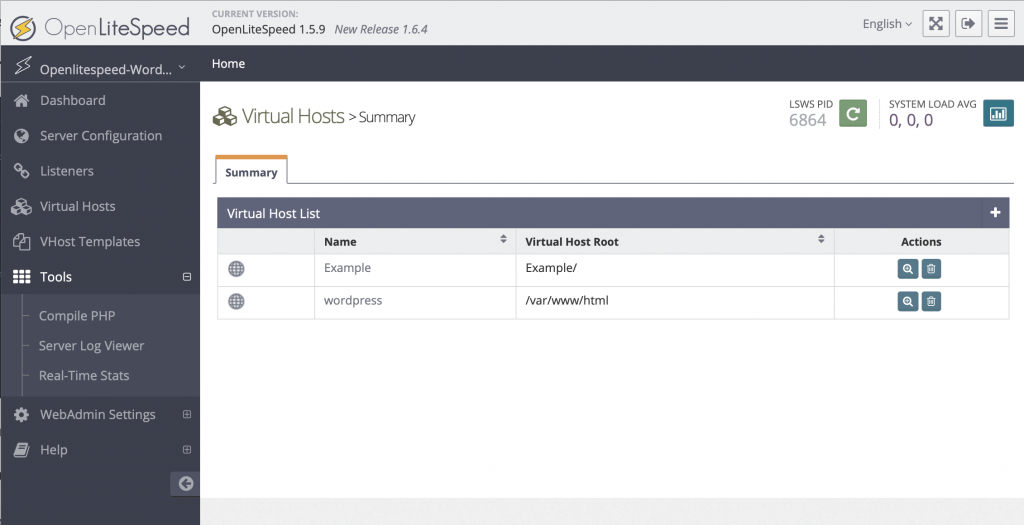
There I had to select virtual hosts > wordpress
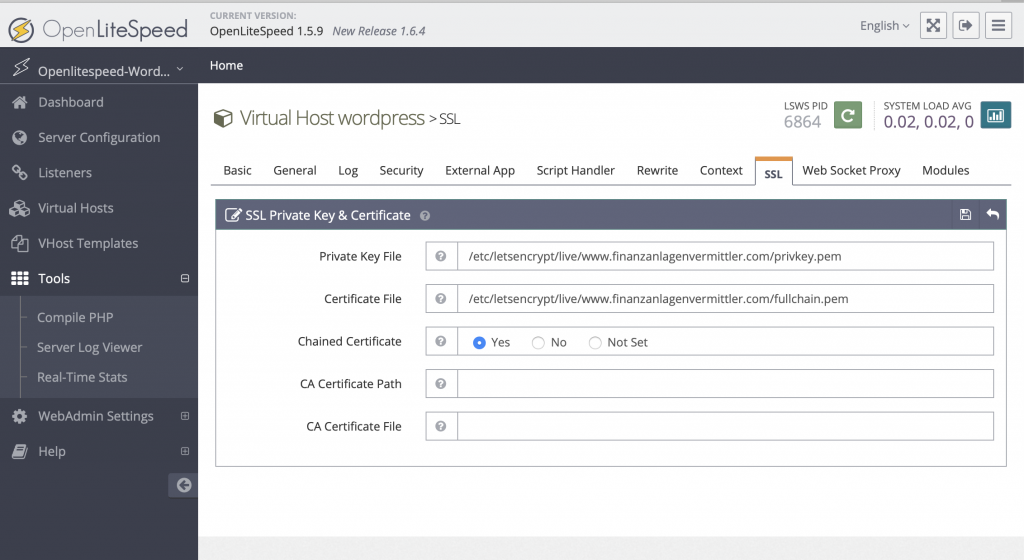
Then on SSL:
Also had to go to Webadmin Settings, select adminListener
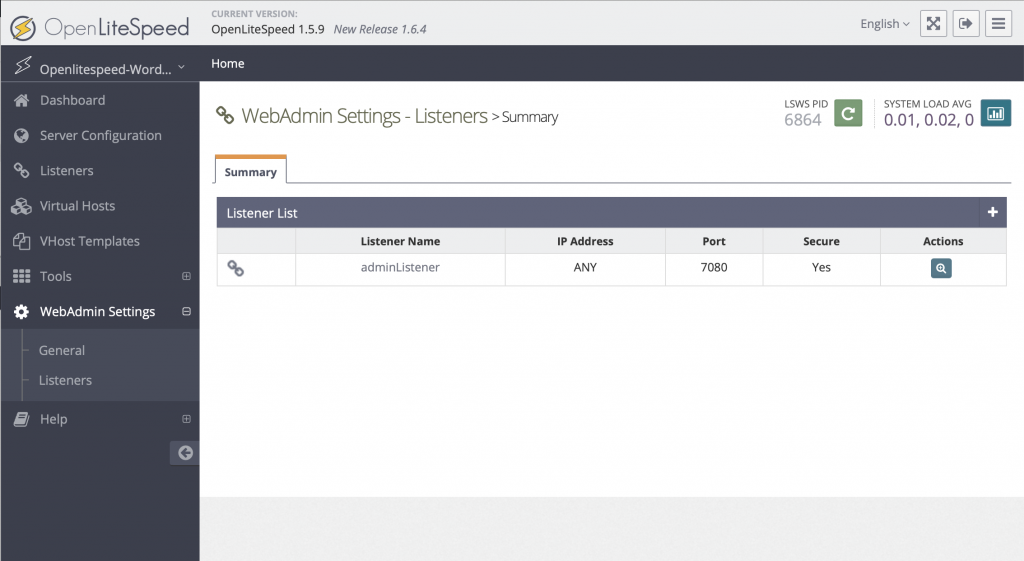
And also here setup the SSL: